Design a Salon website using Elementor and Element Pack
One of our dear clients asked, how about we design a salon website? Well, here we are. This blog is about our typical salon website named ‘Parlour‘.
There are so many types of Salon websites available on the internet. As we appreciate beauty from our heart, we went with a beauty salon theme. Hence, our designed website is a beauty parlor website.
Let’s get started!
Design a Salon website using Elementor and Element Pack
First, let us introduce to the tools we will be using.
We all know about Elementor, the awesome page builder that everyone loves in 2021. It’s a great tool that doesn’t require you any coding knowledge. You can create a website just using your own imagination.
And, the Element Pack Pro is a tool pack, built especially for Elementor, having 150+ essential widgets. It will be your next favorite tool for designing beautiful webpages.
For more information, please visit their websites. Now, let’s design our new Salon website.
Starting Off!
First of all, make sure you have both Elementor and Element Pack installed on your dashboard.
To do that, go to Dashboard> Plugins> Add New> and use the search field.
Next, go to Pages> Add New>
Put a new title to your page and click “Edit with Elementor.” Now, you are ready to set the sail.
Hero Section
The hero section is the first thing you will see after opening a website. That’s why it is necessary to concentrate more on this part. It is essential to put maximum effort into this section to design not only Salon but any website.
Header
Step-1

Make a 3 column section and put the Navbar widget from Element Pack. This will act as the main menu bar of the website.
Step-2

Add the Image widget from Elementor and place the logo in the top-left position.
Step-3

Now, place the Advance Button widget labeled as ‘Shop Now‘ in the top-right position and change its color to relate your logo. Of course, add the pricing page link to the button.
Step-4
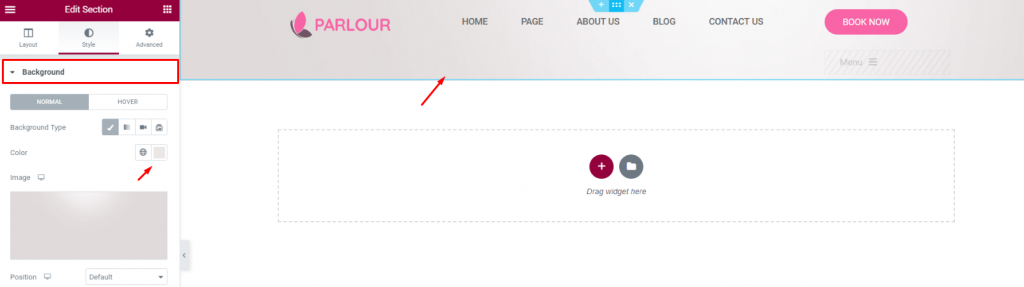
Change the color of the whole section by clicking on the section icon. Keep in mind, you need to follow a constant color pattern throughout the whole website. This is for the design perfection of a Salon website.
Body
Step-1
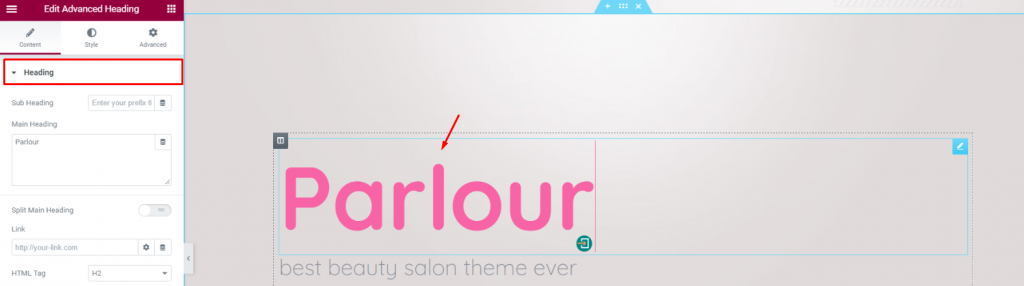
The body part of the hero section of a salon website needs to be minimal, eye-catching, and the essence of the service/product offered.
So, choose the same background of the header and match them both. Put the Advanced heading widget in the middle of the section and name it the same as your website. Follow it up with a simple Text Editor widget below.
Step-2
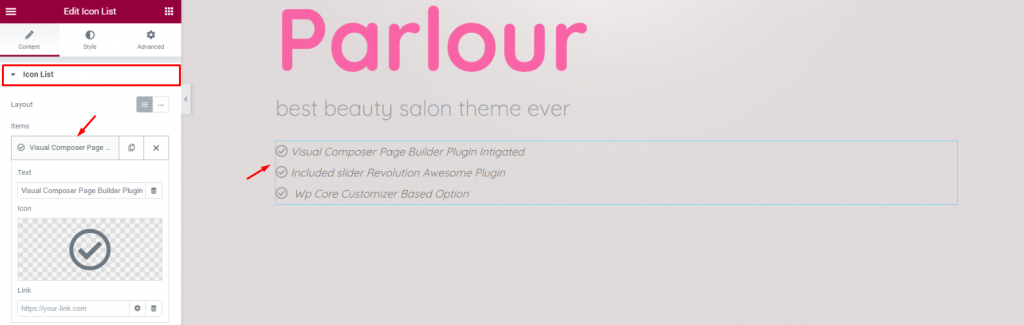
To reveal the features with icons, insert the Icon List widget from Elementor.
Step-3
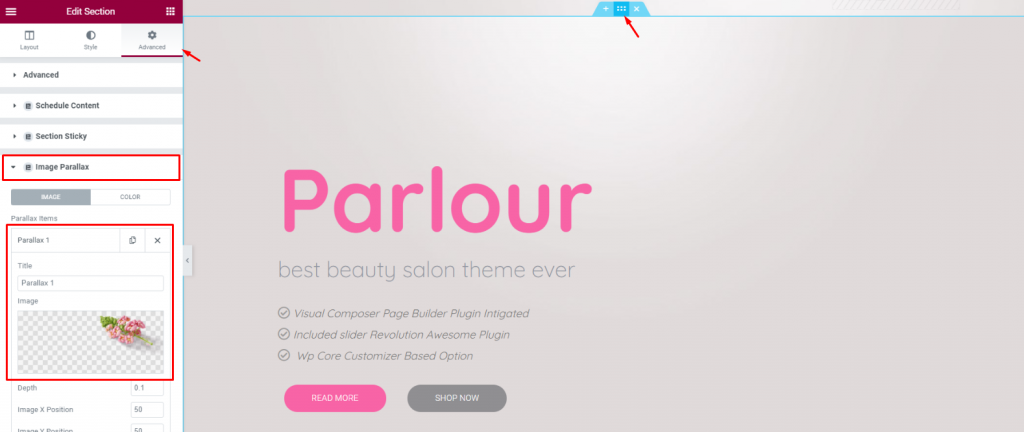
Adding more graphics will increase the site’s appeal even more. So, let’s add the Parallax effect to the section by going into the section settings> Image Parallax. Choose suitable images for this part.
Features Section
After the hero section, comes the features section. In this part, we will be revealing a little more details about the quality of our services. This is done mainly to pull out the visitors slowly into a conversation.
This is a good practice if you are planning to design a salon website. So, let’s go!
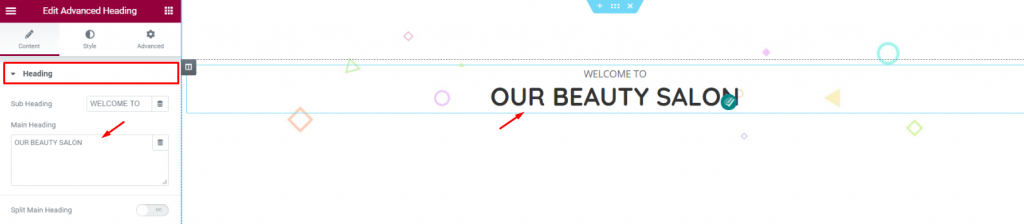
As usual, start with the heading. Place the Advanced Heading widget on top of the section and insert text.
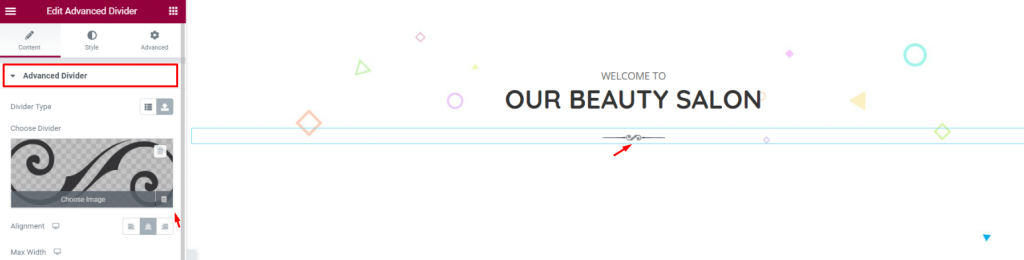
Let’s place an Advanced Divider widget below the heading. This one has a lot of cool divider skins. Just go with the one you like.
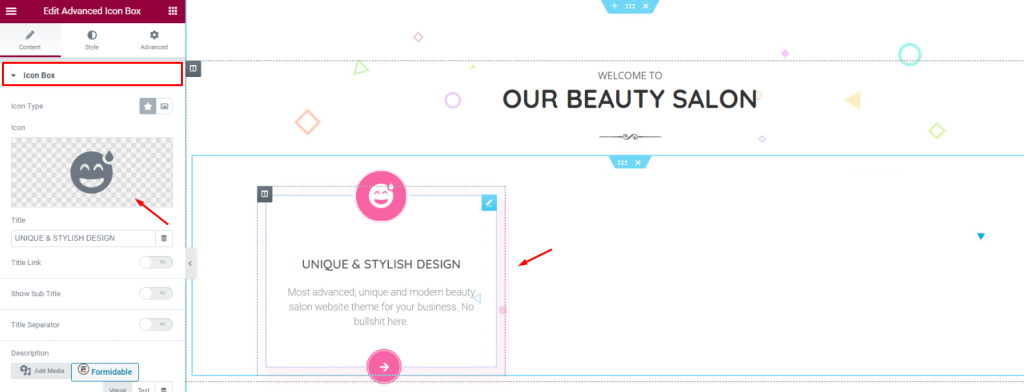
Now for the feature info, place the Advanced Icon Box widget by Element Pack. Here, you can place emoji, a READ MORE button, and text using only one tool.
Service Section
Now, we are going to show the offered service/package in a completely new section.
Similar to the previous one, the basic appearance consists of a title, subtitle, and divider.
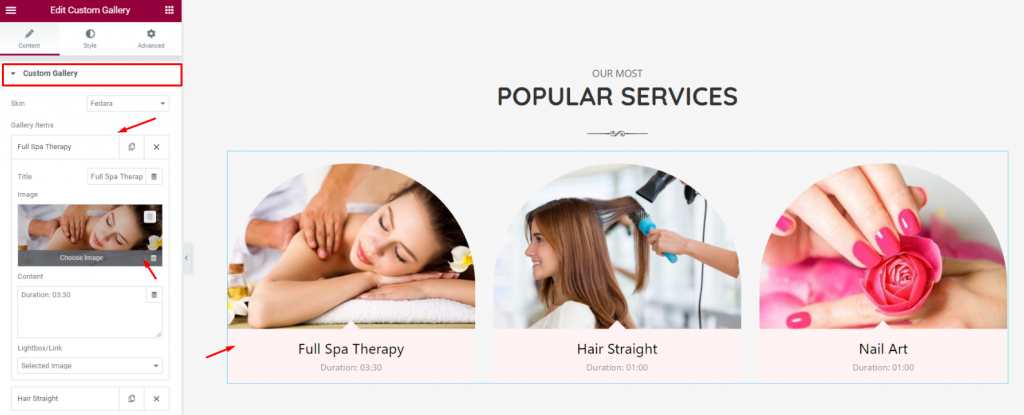
For the rest, we used the Custom Gallery widget and displayed the services we generally offer. From the style tab, by simply changing the border-radius for the top-right portion, you can give it a nice parabolic shape.
Video Section
Any website including, a Salon Website, gains more charm by attaching a related video of it. Instead of plain texts, a video shows more in-depth content. It creates a major impact on gaining higher traffic.
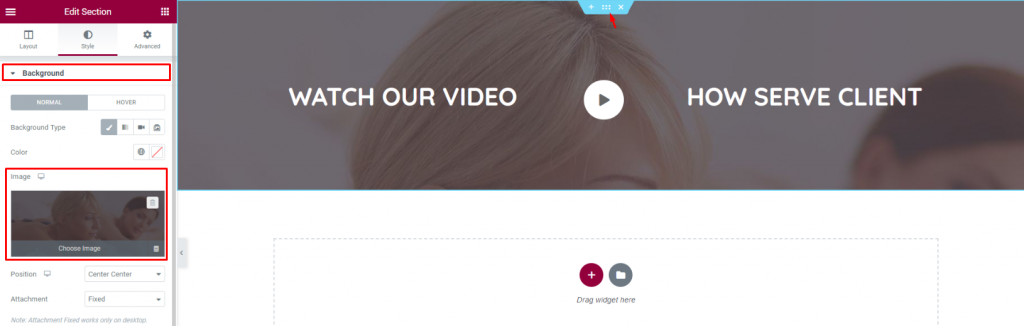
Let’s put a section with a blurred background image.
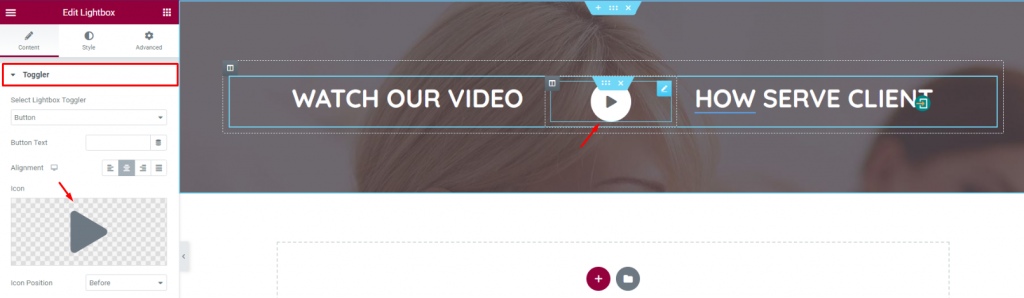
Add a Lightbox widget by Element Pack and attach the video content you want to show here. Just like the image, select a matching logo for ease-of-view.
You can point out the video by putting titles on the both side.
Staff Section
Let us display our beauticians’ faces on this part of the designed salon website.
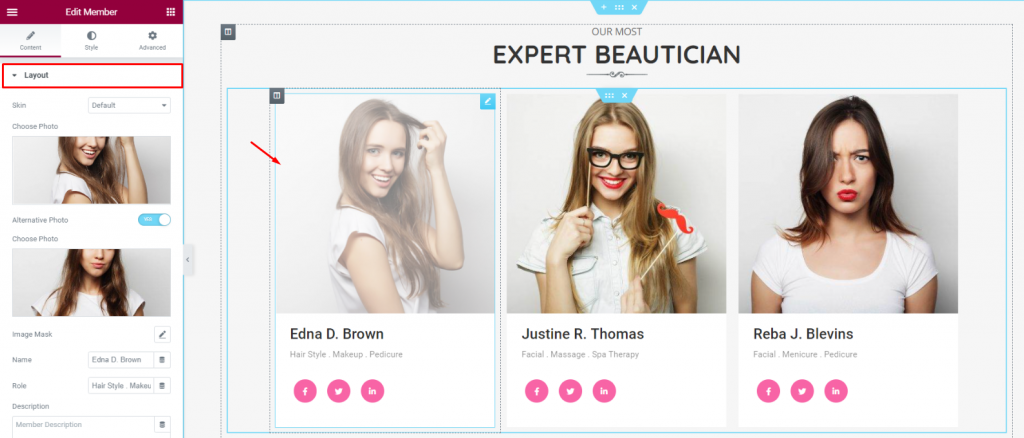
To do that, you can use the Member widget. It shows a portrait of your employee, names, short info, and social media links. Keep the background color the same for the section and the subjects.
Additional Features
Let’s put another features section to seek readers’ attention.
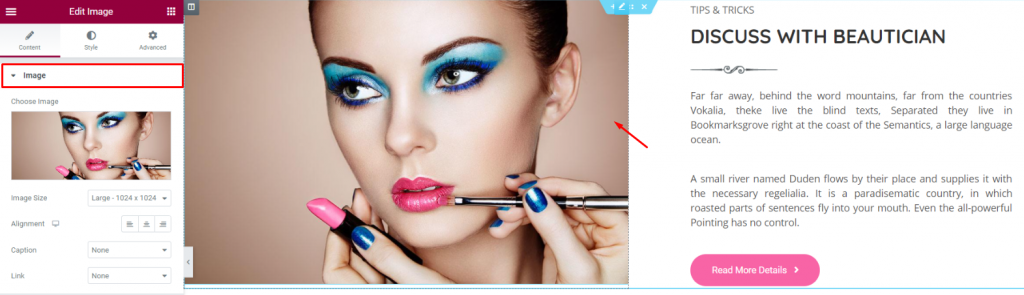
Make a 2 column section and place an enlarged image on the right and texts on the left. Don’t forget to add a CTA button at the end.
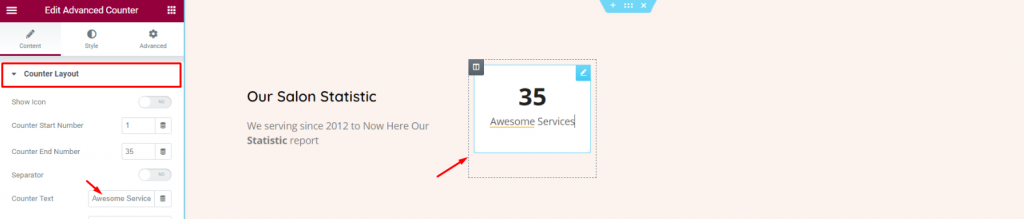
People love numbers. So, try to show more info about your services using the Advanced Counter widget.
Clients’ Testimonial
Clients’ testimonial is one of the most important cards to play. It helps in creating a positive sense towards the new visitors. And, this is the perfect time to use the Testimonial Carousel widget.
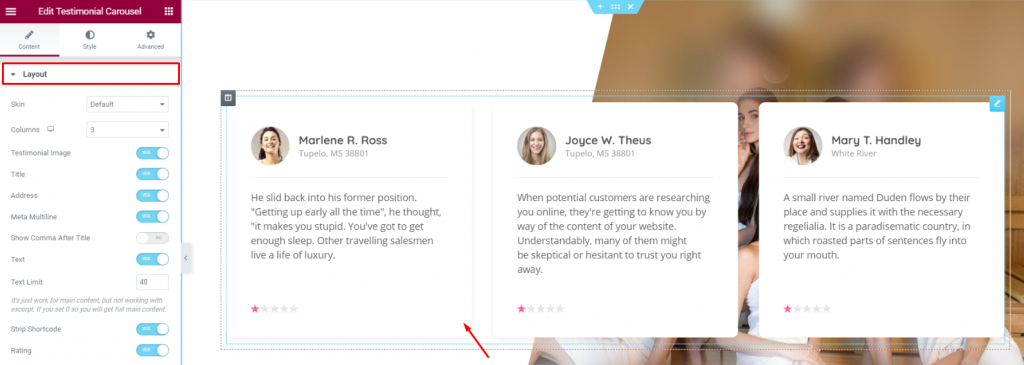
Just create a new section with a decent background image and place the widget in the middle. Done!
Unless you have to adjust the size of the content, you can go with the default settings without worries. Move on when you are satisfied with the design that goes well with the Salon website.
CTA
Next step is to add a call out section at the bottom part of your website.
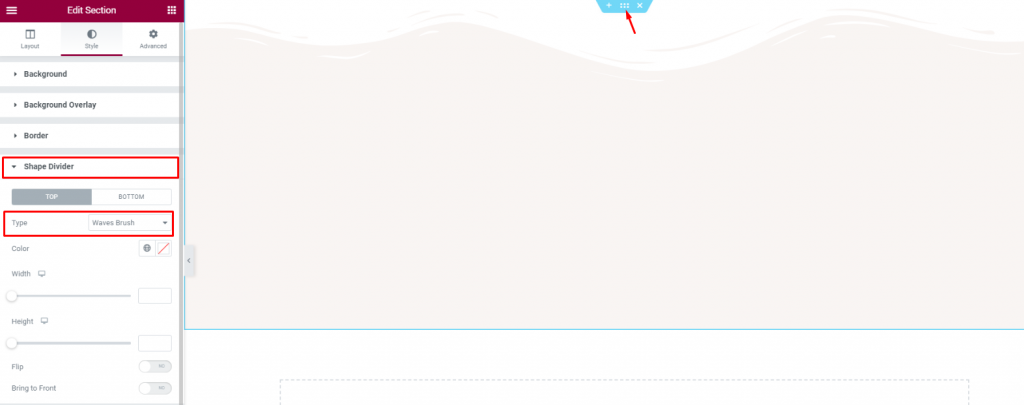
First, let’s design a section by using the basic section settings. Click on the section icon, go to Shape Divider, and select Wave Brushes from the Type option.
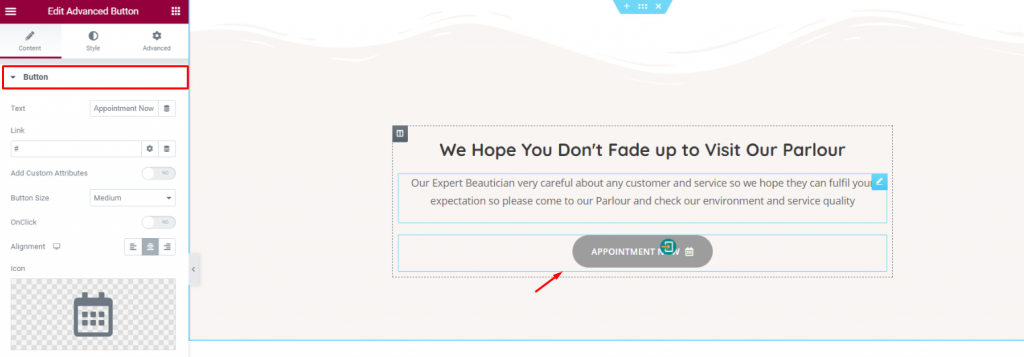
After that, place your CTA button along with a suitable title and excerpt.
Footer
Lastly, finish your page with a feature-packed footer.
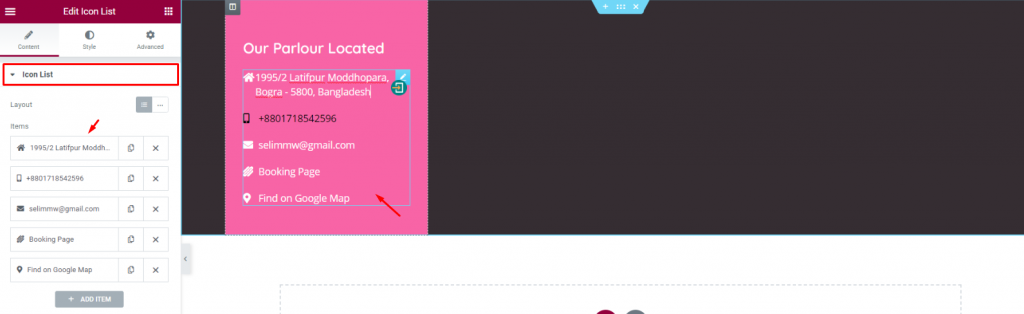
Create a section with 4 columns and a dark background. Change the color of the column as you prefer and place the Icon List widget under a heading. Add the contact detail of the company here.
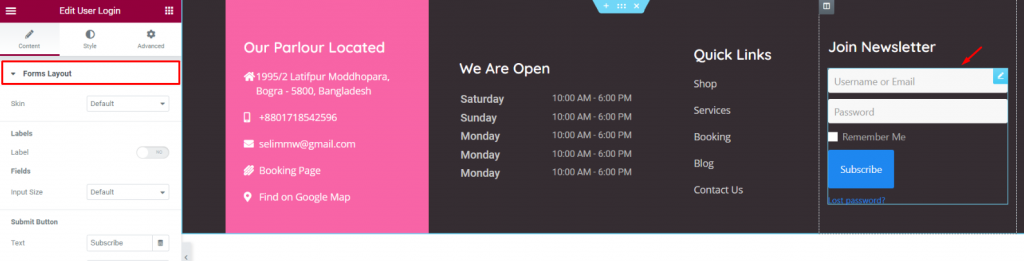
Create 2 more similar columns and pour in more details. Finish it by inserting the User Login widget as CTA.