
How to make a price box using Elementor easily
Price Box is a very useful tool if you are running a website to sell any products. Normally, most eCommerce websites use it to sell packages, products, courses, daily necessaries, etc. People often address it as Price Table in the tech industry. Furthermore, well-structured price tables make price comparison easier for the users and make it easy to decide what to purchase.
In fact, if you can present offers and prices to your customers with a decent price box design, they most likely are willing to pay. With Elementor, you can in fact create neat and stunning pricing tables. As for the widget Price Table, Element Pack has developed it. This widget has awesome features that you can use to create an effective price box easily.
In this blog, we will show you a step-by-step process of creating a price box using Elementor and Element Pack Addon’s Price Table Widget.
Creating a Beautiful Price Box with Elementor
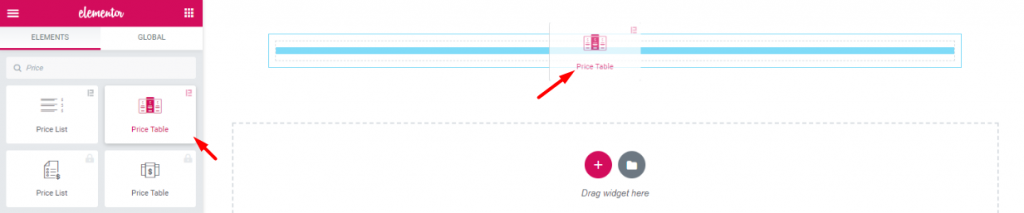
First thing’s first. Though, it’s not worth mentioning, for beginners it may be helpful. Drag and drop the Price Table widget (Element Pack logo attached) into your webpage.
If you don’t have the Element Pack plugin installed, no problem. In that case, you can use Elementors’ price table widget instead. Note that, both of them are available on pro versions.
Customizing Layout
We must mention one thing, the company Element Pack always puts tonnes of customizing options in each of their widgets. As a result, you have a big menu bar for customizing your price box. The Price Table widget will help you to create unique and stylish designs easily.
Let’s move into the main course!
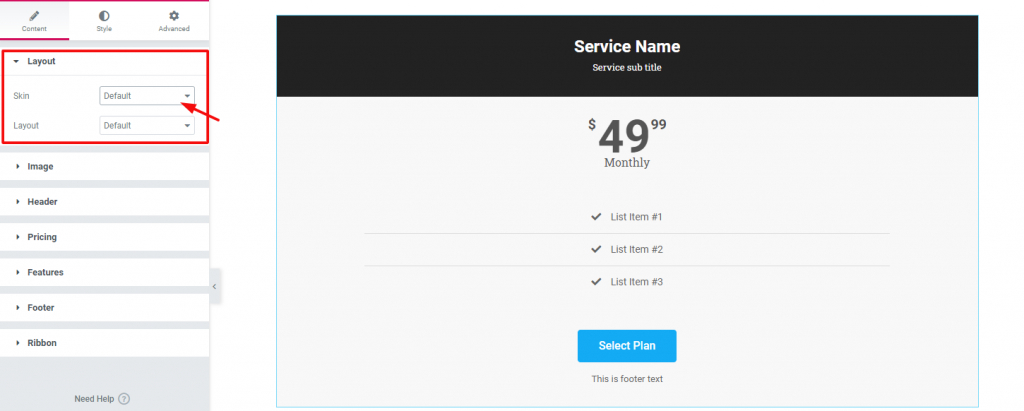
Once you drop the widget, it will pop up Content Tab. This tab holds the base settings for customizing the contents of the box. As you can see, the first section of Layout has two options; Skin & Layout. Both are set to Default. Keep an eye on the section list of this tab.
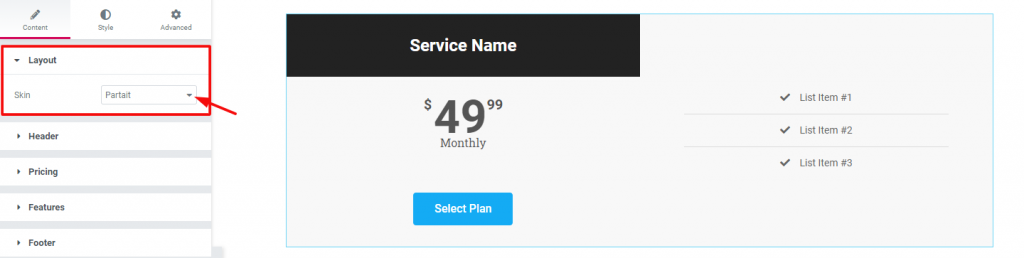
In case you choose a different Skin (Partait), the appearance of your price box will also change. Now notice that there is a section ‘Image‘ is missing on the section list. Also, you can see no Layout option under Skin. However, the reason is, when you change the Skin option, it will automatically show/hide options related to that layout.
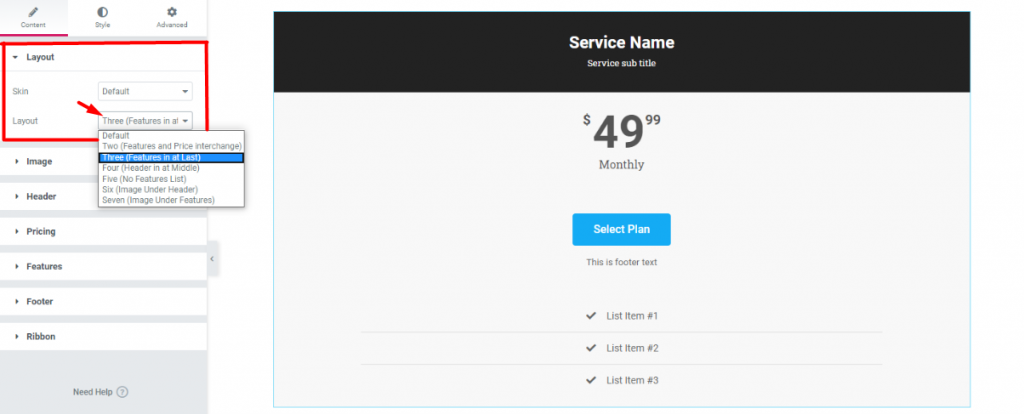
Once again, back to the default settings. The Layout option under Skin also has its uses. After all, you can choose from a number of layout styles from here. Each layout style is different and has different sets of options.
Adding Image & Details
After choosing a layout, what we need to do now is add our details. In fact, you can add any image to your price box if you want. Adding service/product-related images will bring more attention to it. In fact, adding images increase the charm of that product.
But, if the landing page already shows all the information about that service, you may not need any image. However, I will show you how to add images anyway.
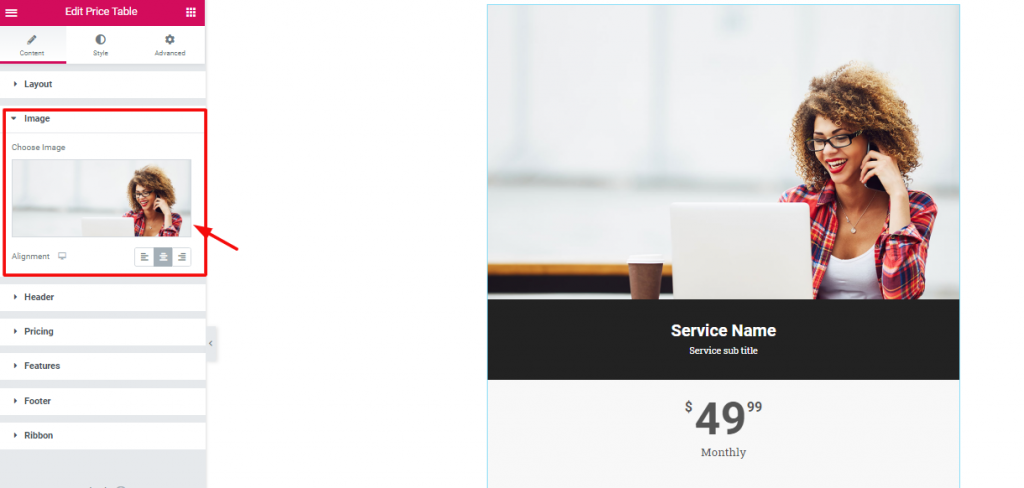
Go to Content Tab> Image section
Let’s be precise. To add an image to your price box is not a difficult matter. But what’s difficult, is choosing the right image. Just go to the Image section from the widget customizing panel and choose your image.
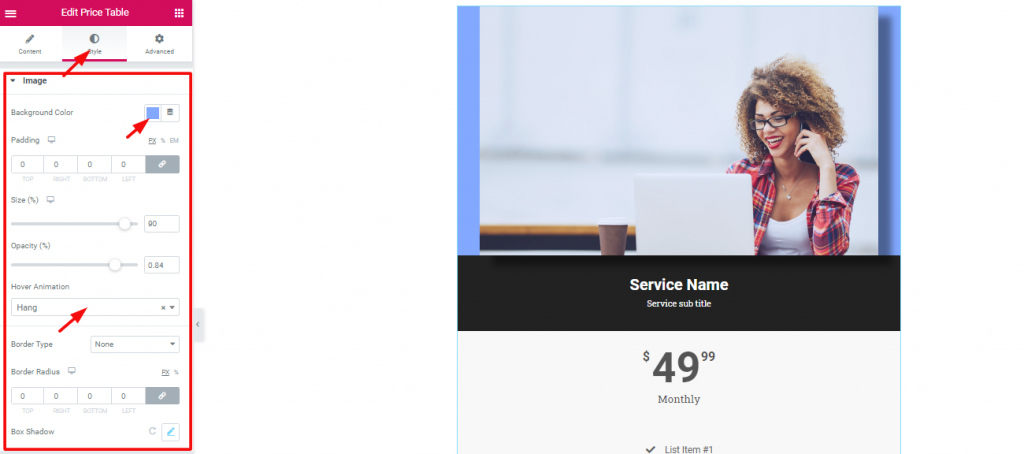
After choosing an image, you can also customize a few things about it. From the Style Tab, go to Image. Here, you can find some options like Background color, Size, Opacity, Hover Animation, etc.
For the most part, the image size, background color, and opacity options are enough. But, as you can see, Element Pack given out more options like Border, Border Radius, and Box shadow along with other options. However, try for yourself! I guaranty that you will make a great design.
Price Box Details
Now, let’s move on to the details.
Heading & Sub-heading

A title holds great importance for your content. Therefore, you must put something that grabs the attention of the visitors. For a price box, you need to put direct titles such as product names or service plans’ names. As for its customization, go to Style Tab> Header. There, you can change the color and typography of the title and sub-heading.
Price Tag
Next, let’s talk about the price tag. The Price Table widget has an interesting setting for this part.
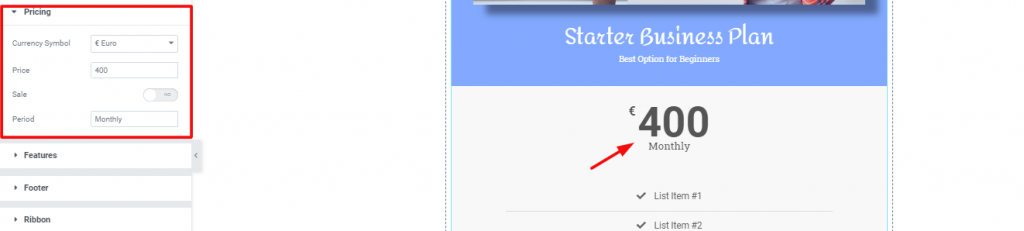
Like all the price labels on the market, you can change the pricing from the Pricing section. The fun part is, you can choose any currency label from the Currency Symbol option.

Again, if you click on the Switcher Sale, it will bring up another price field Original Price. Here, you can put the original price of your product with a crossed-out style. Generally speaking, you can use this to show discounted products or offers.

And Lastly, you can customize your price tag from the Style tab> Pricing. As shown above, try to leave the background color separate from the rest. Doing this will highlight the price tag to the viewers.
Features of Your Product/Service on the Price Box
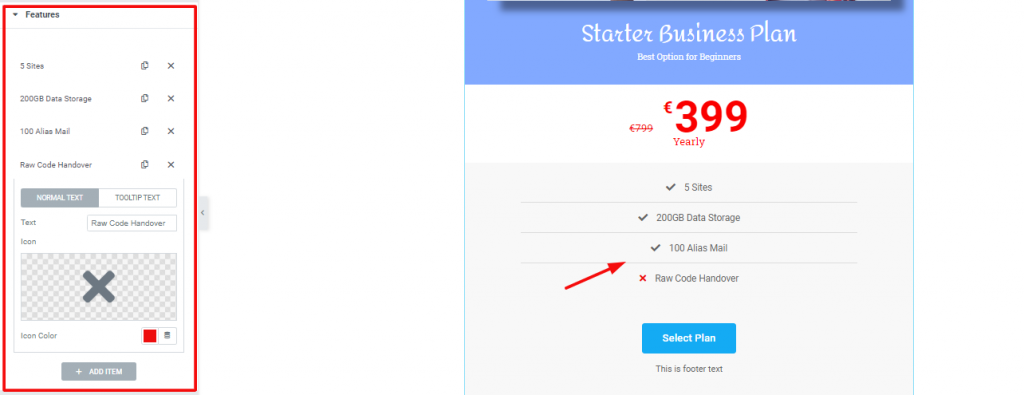
Go to Content Tab> Features
For starters, the features section holds the key to understand what things your offer includes. Though it’s not a briefly detailed part, it gives a quick view of the contents. Hence, for this part, use direct words and be specific.
Let’s talk about customization. As you can see, this section has a bunch of repeaters. You can add more or remove them also. Each repeater has two option sets, one as Normal Text, the other as Tooltip Text. For the normal text, you have options to choose a logo, logo color, and title. In most cases, you can ignore the tooltip option.
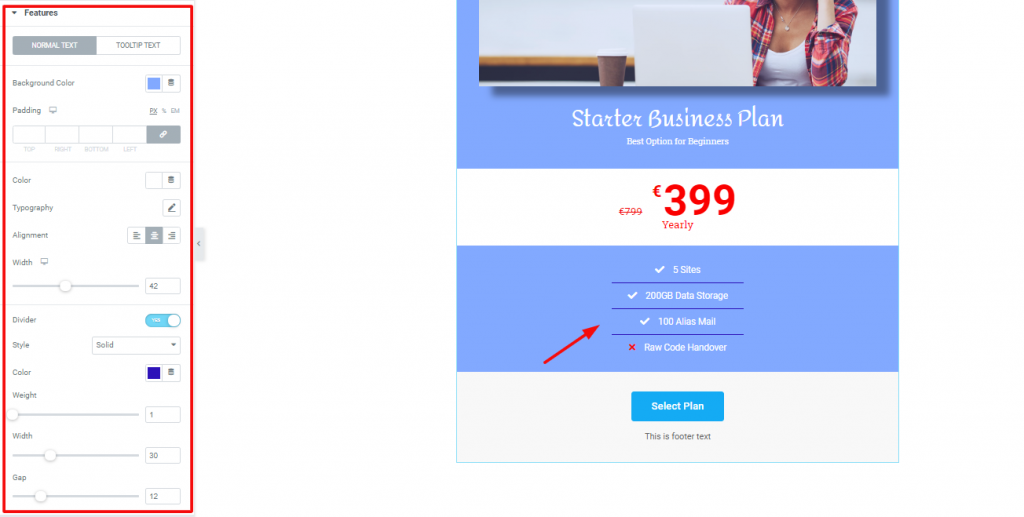
Now, let’s change the outlook of this part. In this case, go to Style Tab> Features. There, you will find the options shown above. We are, in fact, maintaining a single color for the whole price box. Again, the price tag is the only part highlighted.
However, you can change the color, typography, borderline width and weight, and gap from this part. Moreover, there is an option to change the alignment of the texts. But, you may want to keep it in the middle of this style.
Footer of Your Price Box
We are very close to the finishing part. Regardless of what type your price box is, you need to add the footer. Let’s see how to make one.
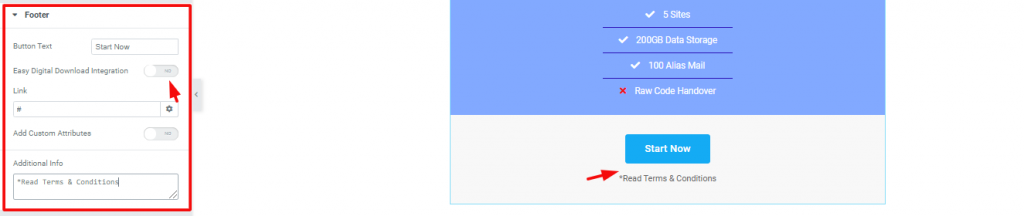
The Content Tab of the Price Table widget has a section named Footer. Basically, the footer area has a call-out button and an additional text box. From the settings, you can see two switchers named Easy Digital Downloads Integration and Add Custom Attributes. You can use the first one to link EDD to your button. As for the second one, you can learn about it here.
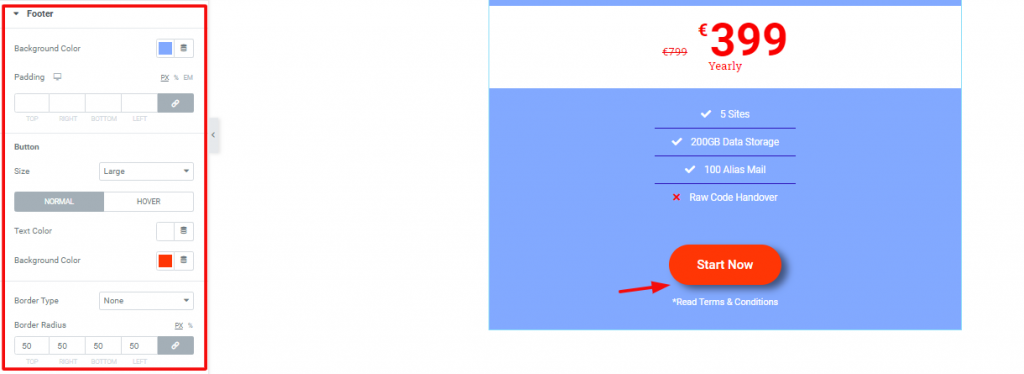
However, you can change the look of the footer from the Footer section in the Style Tab. In fact, you can make the button round using the Border Radius option. You can change the background and foreground color of the footer here. Also, you can add a hover effect and a box shadow to the button.
Ribbon
People often use Ribbon on their price box to show features or new offers. It is nothing but a mark that highlights a specific product. Let us show you how you can use it.
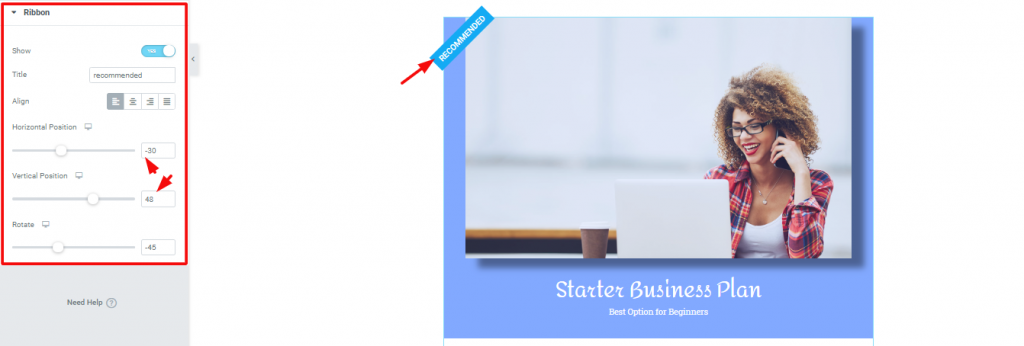
On the Content Tab, the last section is Ribbon. There is a switcher at the top of the section. You need to turn it on to make the ribbon appear. However, you can edit the title, change the position of it from Alignment & Horizontal/Verticle Position. Also, you can rotate the ribbon as you like.
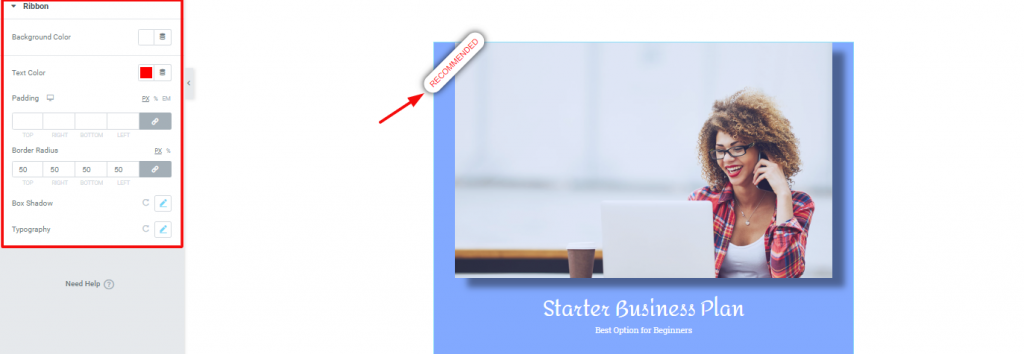
Now, to change the outlook of the ribbon, go to Style Tab> Ribbon. Surely as the image above, you can easily design this by changing its color, border-radius, typography, and box shadow.
Have a Look at The Complete Price Box
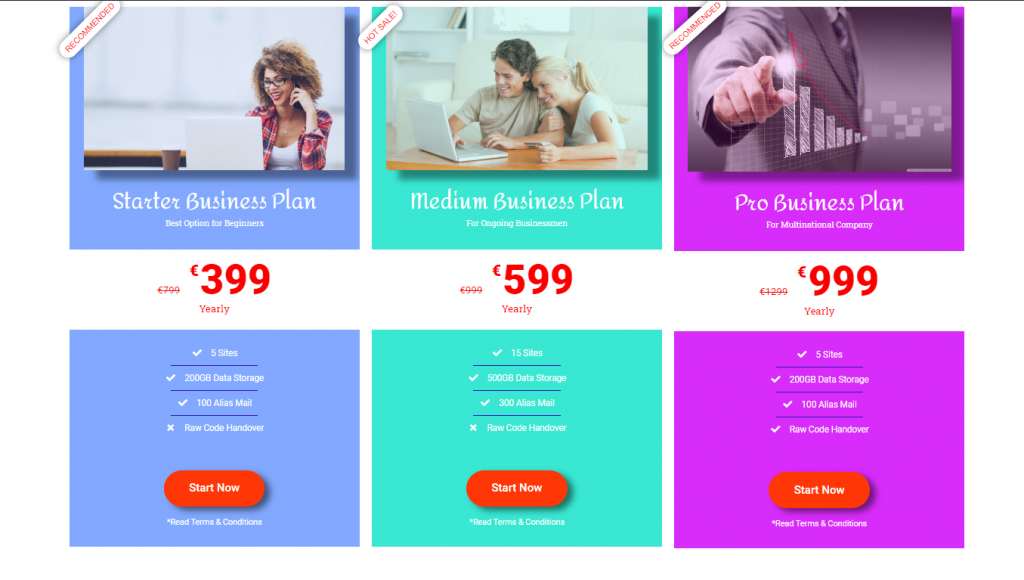
Congratulations and thanks for keeping patients up to this moment. Look at the stunning price boxes you made with us. With the example above, you can easily create such boxes for your eCommerce websites.
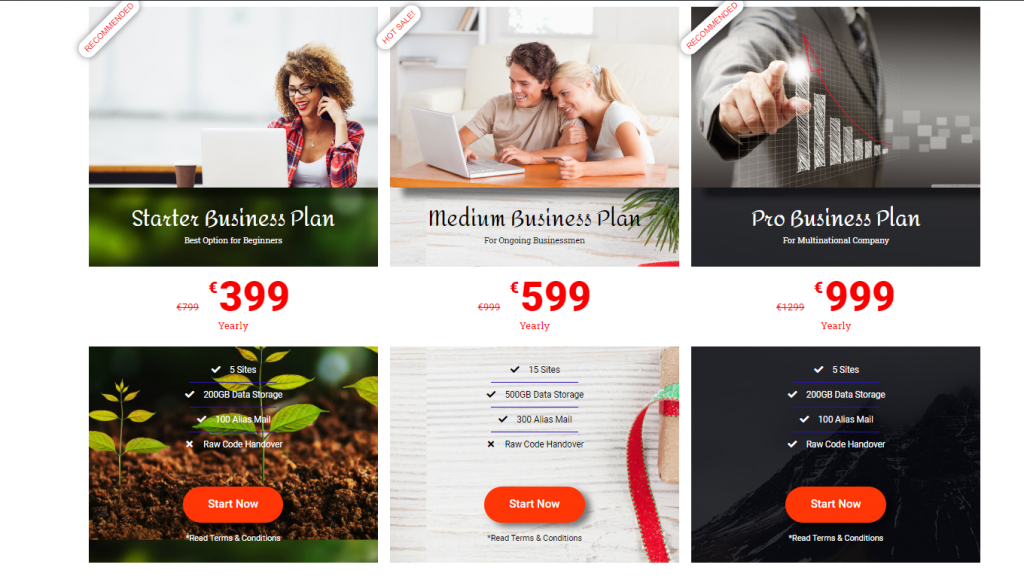
One more thing, you can also add your custom backgrounds to these price boxes. It’s easy to create. It’s attractive. Also, it’s fun. Thanks for reading this blog. Have a great day!