Design a Pet Shop website using Elementor Right NOW!
Hero Section
The hero section has two parts, the header and the body.
Header
Step-1
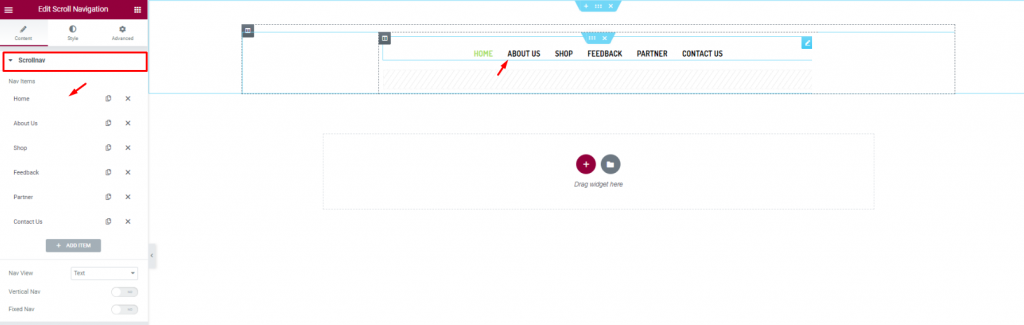
Let’s first insert the Scroll Navigation widget by Element Pack on our page. This will be the front navigation system for our website. Change the name of the menu items as you prefer from the content tab.
Step-2
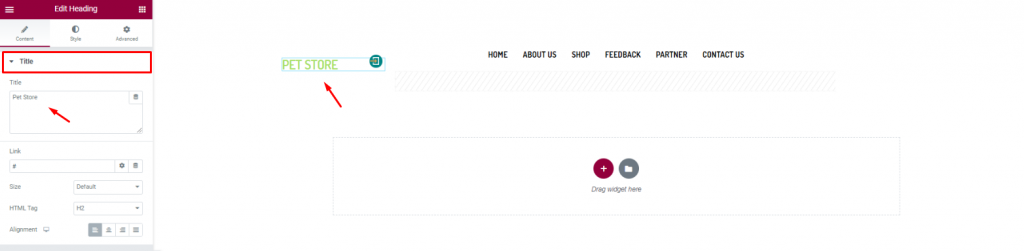
Insert the shop name/logo on the top left corner of the header. We inserted the Heading widget by Elementor and put the shop name in texts.
Step-3
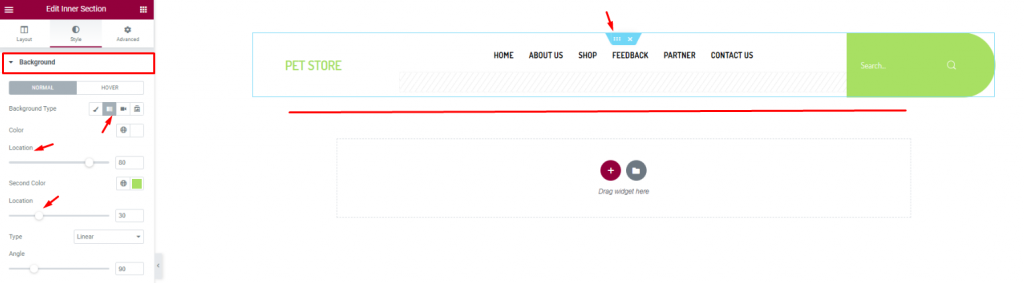
Finish the header design of the pet shop website by using a gradient background color from the section settings. Don’t forget to put a Search widget on the top-right corner.
Body
Step-1
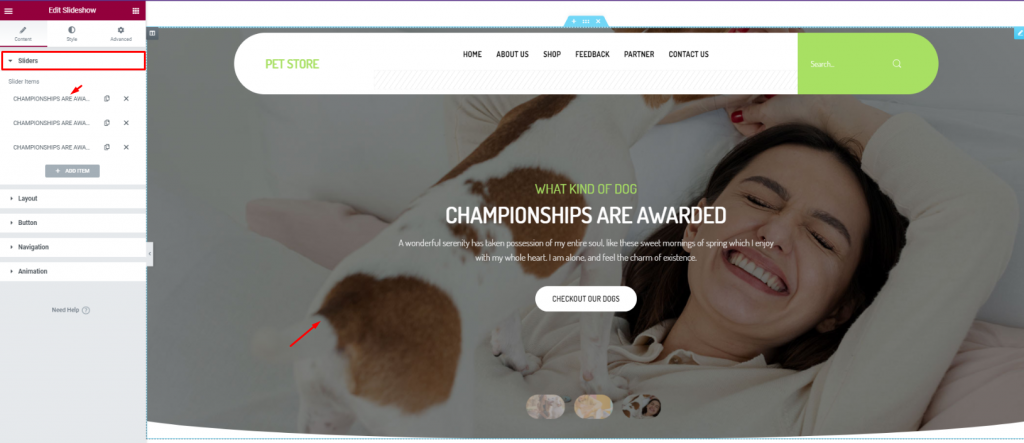
For the body of the hero section, simply insert the Slideshow widget. The widget lets you combine stunning background images, texts, and a CTA.
Step-2
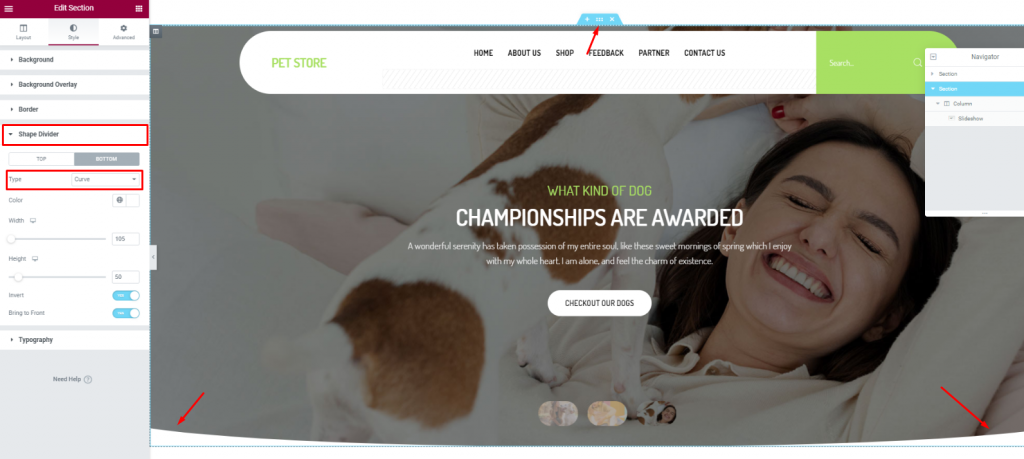
To add more style to the slider image, you can try to curl up the edges. To do that, you need to go to the section settings> Shape divider> and choose Curve from the Option Type.
Features Section
After the hero section, we need to design the features section. This part will highlight our service capabilities and deliver deeper info about our pet shop website.
Now, more features will bring out more info spontaneously. But no need to overdo it. So, we will stick to 2 sections for displaying features.
Section-1
Step-1
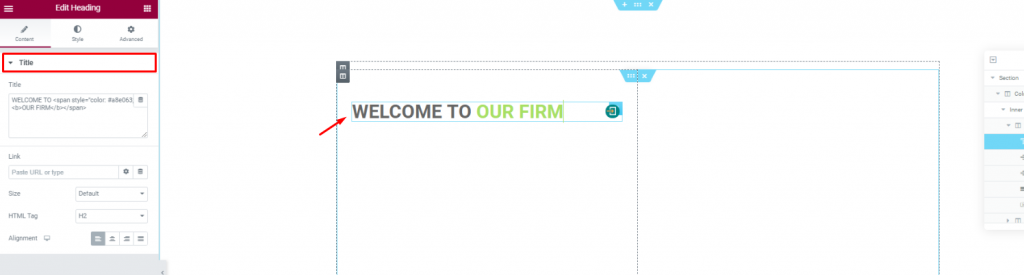
Create a double-column section. Insert the Heading widget on the left column.
Step-2
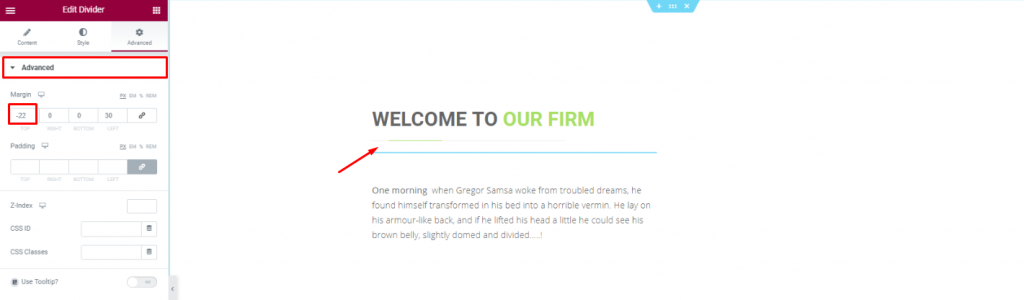
Put a Divider widget under the title to boost its look. Place a short description of the company below.
Step-3
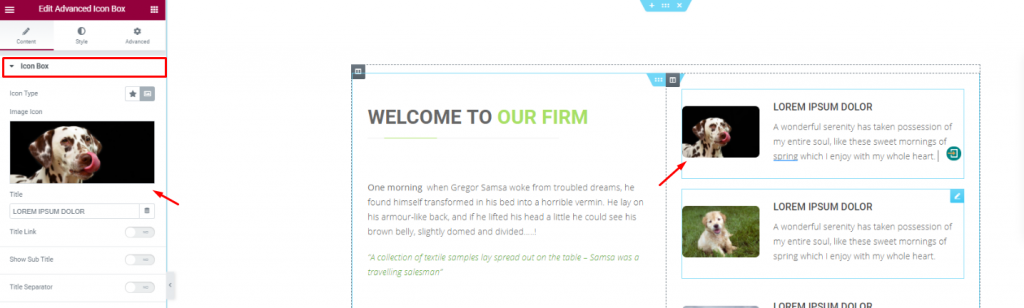
Placing the Advanced Icon Box widget on the right side of the column for pet descriptions.
Section-2
Step-1
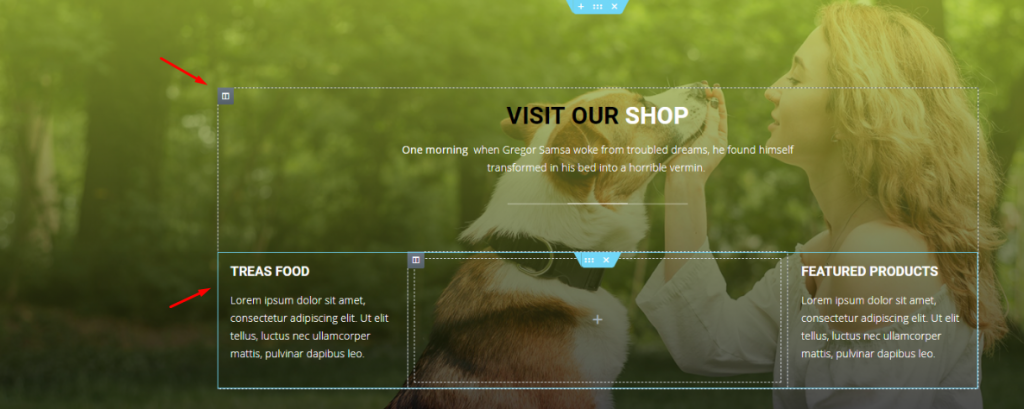
With a decent background image, create a multi-column section and fill it with more shop related details. You can do that much simply using a Header widget and the Text Editor widget.
Step-2
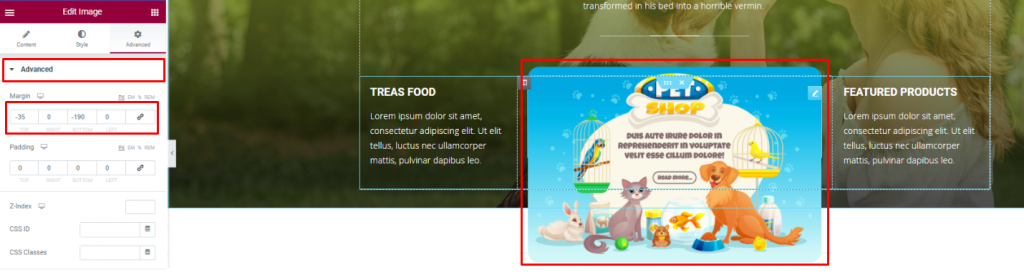
Insert an Image widget and displace its position using the Advanced tab.
Gallery Section
You can not design a pet shop website without a pet gallery, right? To make it look decent, you can cover an entire section with an image gallery or merge it with the features.
We did the later but in a more creative way.
Step-1
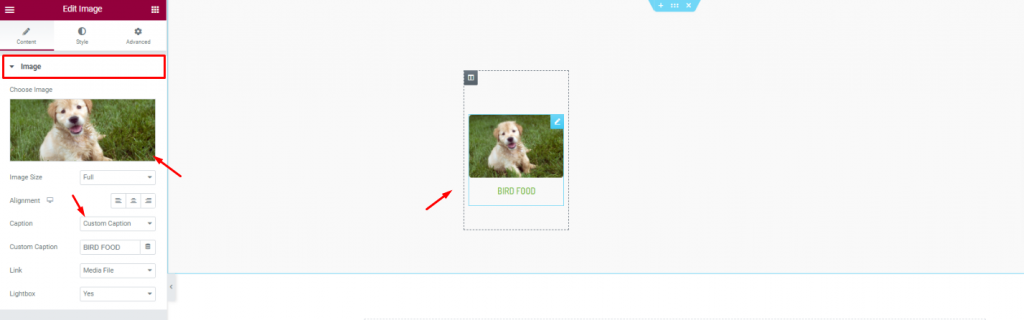
First, create a 6 column section and insert the Image widget in them.
Step-2
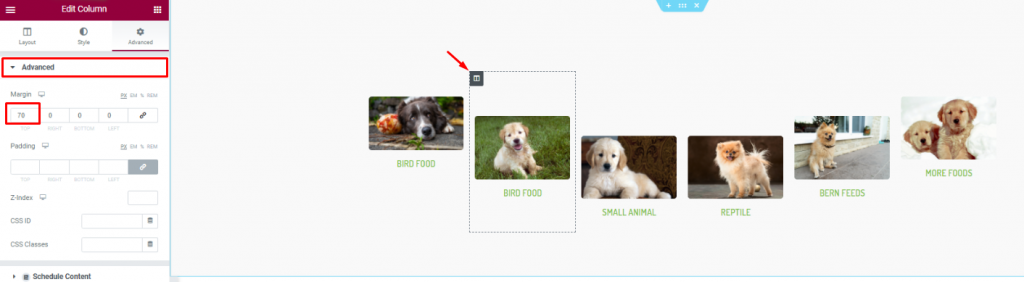
Second, go to column settings and in the Advanced tab, consecutively adjust their margin. Just then, you will get a nice curved pet image gallery.
Testimonial Section
Positive reviews from customers is always a good addition to your website. A pet website is not different. As your customer will put more trust upon seeing those good reviews, it’s best to put a testimonial section on your website.
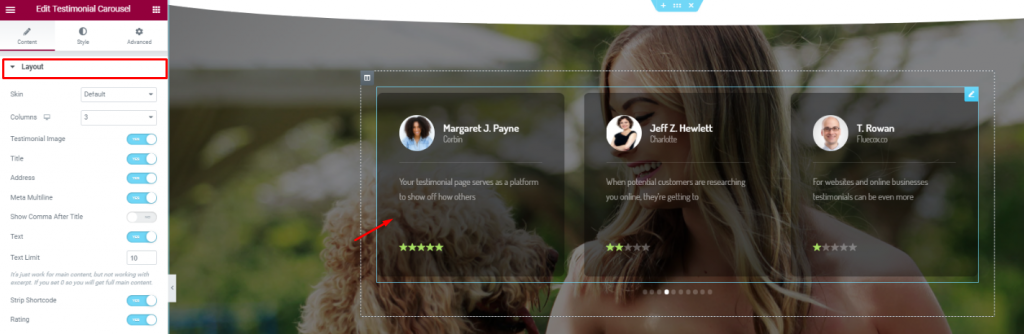
On a new section, insert the Testimonial Carousel widget in the middle of the section. Make the color a bit transparent from the Style tab.
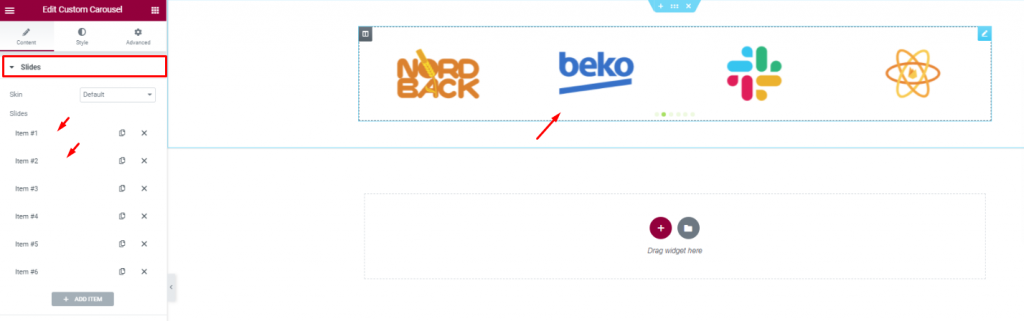
Insert all affiliate websites, partners, sponsors through the Custom Carousel widget. And, that covers up for the testimonials.
Offers section
In this part, we will create a section to display events/offers related to our pet shop.
Step-1
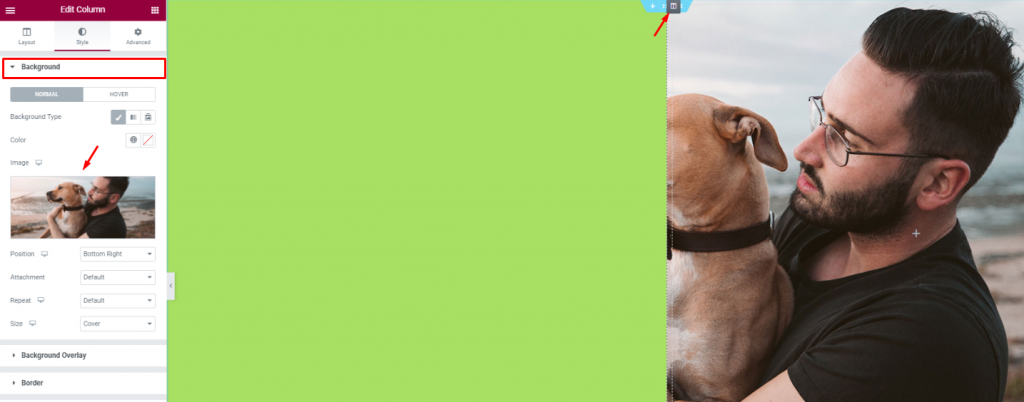
Create 2 column section and add a decent image as a background on the right column. Put a light-green color on the left column.
Step-2
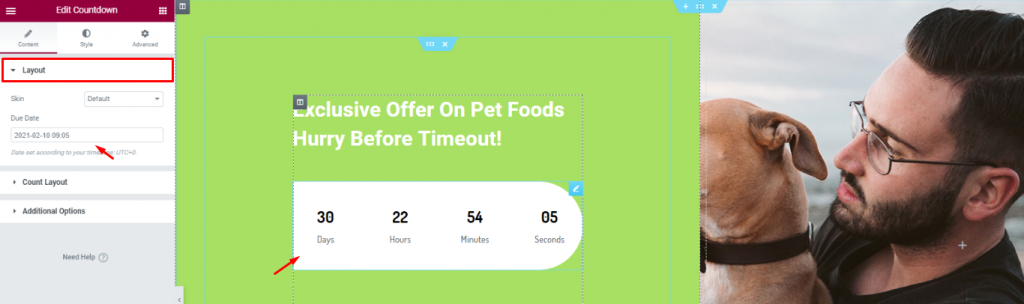
Add a title and the Countdown widget to show remaining time for your offer.
Step-3
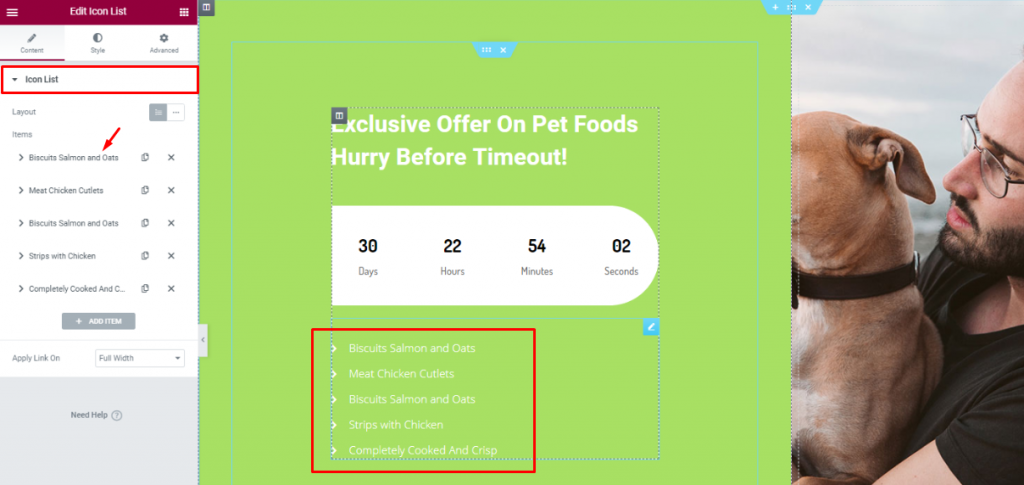
Insert the Icon List widget below the counter to show the offer contents.
Footer
Lastly, you need to design a footer part containing contact info, locations, social media links, etc.
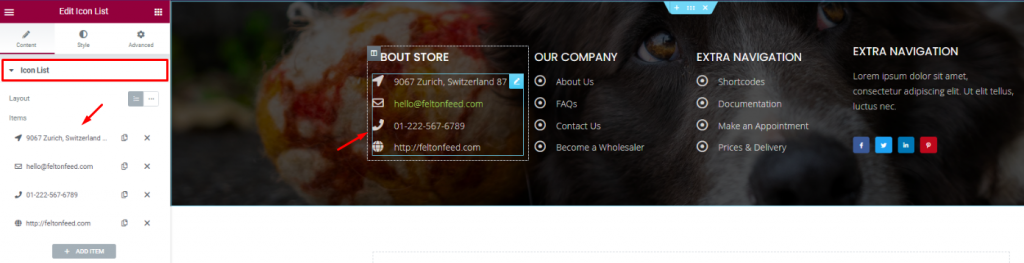
For the footer, make a section with a decent background and divide it into 3 or 4 columns. You can use the Header and the Icon List widgets for the footer.
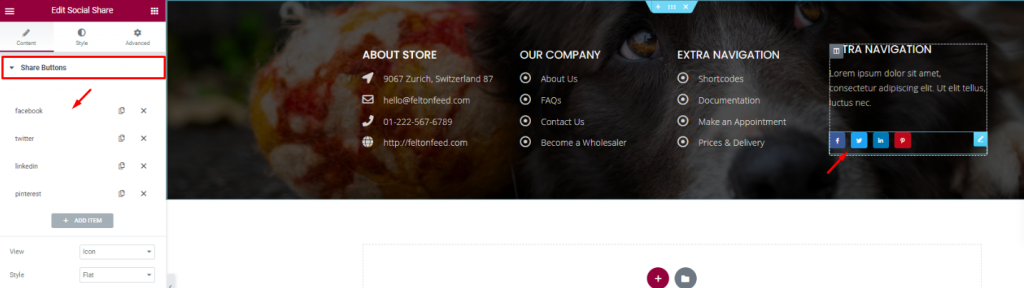
Put your social media links using the Social Share widget at the end of the footer. That’s it!
Like that, you can design a unique pet shop website and start your new business today.
Thank you for staying with us.