Effortless navigation with rich menu options
Visual product choices boost sales fast
Personalized content adapts in real-time
Seamless scrolling for better UX flow
Instant content duplication saves time
Quick access to powerful design elements
Ready-made templates speed up design
Advanced custom fields for flexible data
Clone sites easily without hassle
Crisp, scalable graphics for all screens
Rebrand tools for a professional look
Show or hide content with precision
Engaging depth with smooth motion
Add clear notes and annotations easily
Helpful hints improve user interaction
Animate elements with stylish flair
Keep important sections always visible
Full control with custom code tweaks
Optimize files to boost site speed
Crafted page templates to help you get started with your landing page just by dropping a starter design
Ready Blocks comes with a variety of layouts and design elements, such as headers, footers, and widgets etc.
Pre-designed headers with lucrative styles that are suitable for various niche websites and design tastes
A helpful collection of footer designs to help you create an instant attractive footer on your landing page
Find us 24/7 at your service. We are glad to help.
Detailed guidelines available for every features at BdThemes
Learn something new, stay informed about WordPress, Web Design and more
Here are some of the key milestones in my development:
Learn product usage, WordPress tips & tricks from our videos
Earn hefty commissions by joining us in the promotion
Widget Idea Share is a great way to find similar widgets that you can improve.
Certainly! If you need to get in touch with us feel free to reach out
Build any WordPress form in minutes with Sigma Forms.
Coming Soon & Maintenance Mode Page Builder Plugin
Easily make websites accessible with One Accessibility
Display client testimonials to enhance trust and credibility.
Zoloblocks helps craft stunning Gutenberg-based websites.
Most superior Slider in the Era of Elementor Slider
The only Compatible blogging widgets in Elementor for any Blog
Build a next-gen WordPress eCommerce website for business
Organize your photos in a different angel every time with Elementor
Boost engagement and increase sales using Spin Wheel.
Powerful AI Image Generator Plugin for WordPress by ChatGPT
Get 360° Augmented Reality for WooCommerce today!
Copy & Paste any web design you like just with 2 clicks!
A fully functioning theme for elementor with unlimited options
Smart, Clean & Flexible Block Theme for Gutenberg
Dark Reader plugin ensures eye-friendly web reading.
WooCommerce one-page checkout to boost conversions.
Find Nearby Stores Instantly with Sigma Store Locator
The Ultimate WordPress Media Library Organizer

Access 100+ premium WordPress plugins with lifetime updates and dedicated support.
Effortless navigation with rich menu options
Visual product choices boost sales fast
Personalized content adapts in real-time
Seamless scrolling for better UX flow
Instant content duplication saves time
Quick access to powerful design elements
Ready-made templates speed up design
Advanced custom fields for flexible data
Clone sites easily without hassle
Crisp, scalable graphics for all screens
Rebrand tools for a professional look
Show or hide content with precision
Engaging depth with smooth motion
Add clear notes and annotations easily
Helpful hints improve user interaction
Animate elements with stylish flair
Keep important sections always visible
Full control with custom code tweaks
Optimize files to boost site speed
Crafted page templates to help you get started with your landing page just by dropping a starter design
Ready Blocks comes with a variety of layouts and design elements, such as headers, footers, and widgets etc.
Pre-designed headers with lucrative styles that are suitable for various niche websites and design tastes
A helpful collection of footer designs to help you create an instant attractive footer on your landing page
Find us 24/7 at your service. We are glad to help.
Detailed guidelines available for every features at BdThemes
Learn something new, stay informed about WordPress, Web Design and more
Here are some of the key milestones in my development:
Learn product usage, WordPress tips & tricks from our videos
Earn hefty commissions by joining us in the promotion
Widget Idea Share is a great way to find similar widgets that you can improve.
Certainly! If you need to get in touch with us feel free to reach out
Build any WordPress form in minutes with Sigma Forms.
Coming Soon & Maintenance Mode Page Builder Plugin
Easily make websites accessible with One Accessibility
Display client testimonials to enhance trust and credibility.
Zoloblocks helps craft stunning Gutenberg-based websites.
Most superior Slider in the Era of Elementor Slider
The only Compatible blogging widgets in Elementor for any Blog
Build a next-gen WordPress eCommerce website for business
Organize your photos in a different angel every time with Elementor
Boost engagement and increase sales using Spin Wheel.
Powerful AI Image Generator Plugin for WordPress by ChatGPT
Get 360° Augmented Reality for WooCommerce today!
Copy & Paste any web design you like just with 2 clicks!
A fully functioning theme for elementor with unlimited options
Smart, Clean & Flexible Block Theme for Gutenberg
Dark Reader plugin ensures eye-friendly web reading.
WooCommerce one-page checkout to boost conversions.
Find Nearby Stores Instantly with Sigma Store Locator
The Ultimate WordPress Media Library Organizer
Access 100+ premium WordPress plugins with lifetime updates and dedicated support.
Are you looking for the best before and after image slider for your website? Worry no more! Cause we have the right solution for you. Today, we are going to show you how you can make one easily using Elementor.
A before and after image slider creates a slideshow by placing two similar images side-by-side. With a slider bar, you can drag it back and forth to see both comparing images. After all, it is an interesting way to showcase newly arrived products, the growth of your company, or special meanings. Not only it makes your visitors attracted to it, but also it shows the effects of your product or service. Indeed, it is a pretty good piece of a tool!
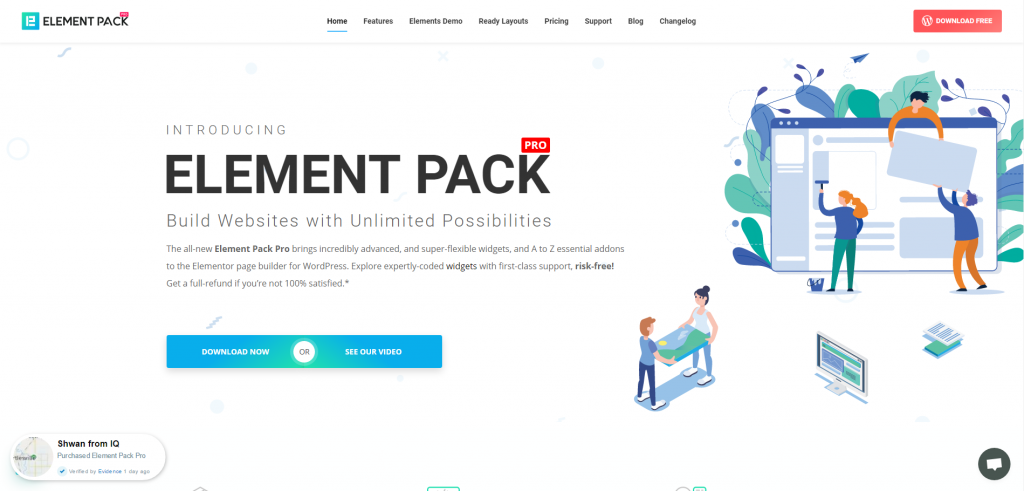
Generally, people use photo editor tools to make this type of effect. But using a simple Image Compare widget, you can easily achieve this feat. Note that, the company Element Pack has developed this widget. This widget is a fully functional image slider that helps you show 2 different versions of the same image. Furthermore, you can use it in any way you like.
No more chitchat. Let’s get into it!
First, go to your web page where you want to use this slider. As we are doing this using elementor, make sure to install Elementor and Element Pack Lite plugins into your dashboard. However, we will not talk about installing procedures in this blog.
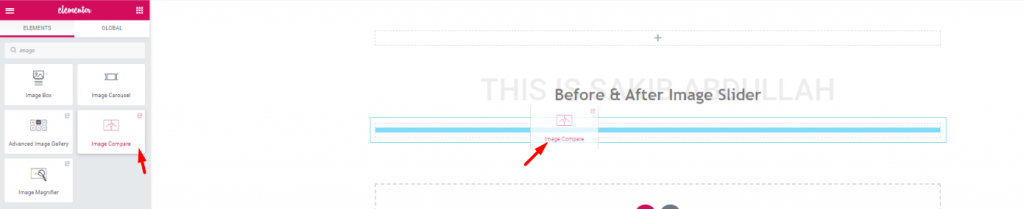
Though it is not worth mentioning, still beginners might find it hard. Just search for the Image Compare widget in the widget menu. When you see it (it has ElementPack logo on it), drag and drop it into a section in the editor.
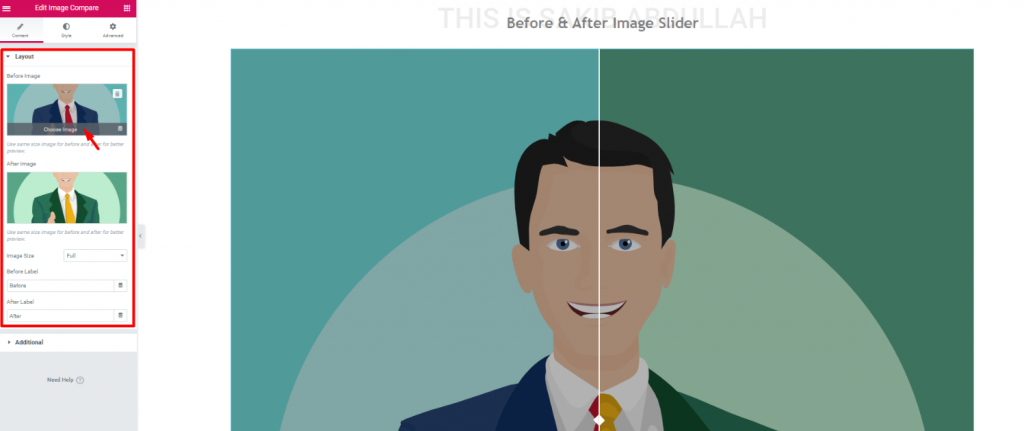
Once you drop it, you will see the default setup of the slider at the start. However, this is the Layout section in the Content tab. You can choose any type of image for the image slider to show it here.
Let’s change the pictures. For starters, let’s select normal ones.
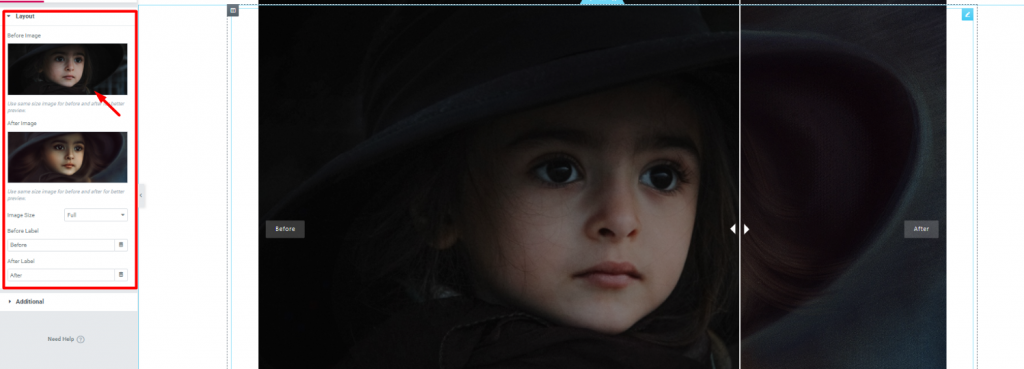
Once you insert an image, you can change their size from Image Size option. Generally, the larger the image, the more space it will take. For an image with a 1000-pixel height but only 500-pixel width, it will increase the slider length by a 1000 pixel.
Moreover, you can change the ‘After’ & ‘Before’ tags from here. Let’s talk about this part later and move on to the next section.

Go to Content Tab> Additional
The Additional option is also known as interface settings. From here, we can change the slider bar orientation to either Vertical or Horizontal. Also, you can change the ‘before image‘ visibility. The Overlay switcher turns on/off overlay on the whole before and after image slider.
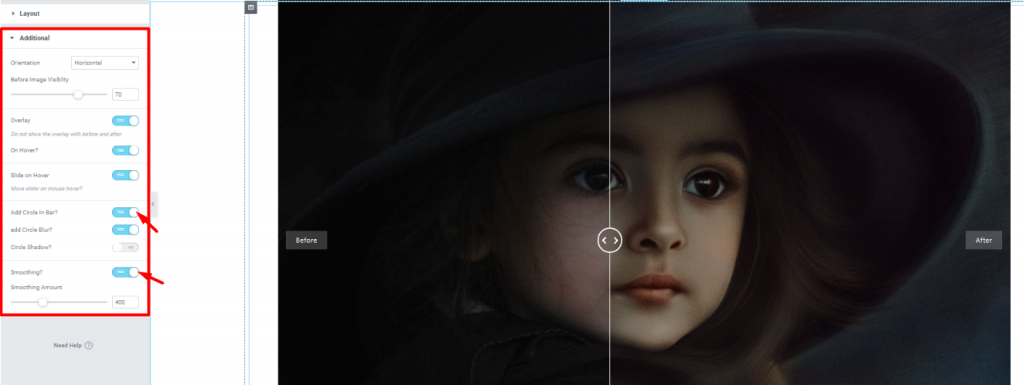
Once again, there are some things to talk about in this section. Notice that, you can add a circle in the middle of the slider bar. Also, you can add a blur effect to the circle.
One more interesting thing here is, you have the option to smooth the hover-drag of the slide bar. Turn on the switcher Smoothing? to smooth the hover-drag. However, you can adjust the sensitivity of the image slider bar with the scroll button below.
We are running a give-away program to our beloved consumers & subscribers who are connected to our official website BDthemes.com
Visit Element Pack or Prime Slider and share with us your thoughts. Lucky winners will receive a lifetime license worth $100. It will only take a minute to take part in.
Up to this point, all those settings you saw were basic settings. Now, let’s put some colors on your image slider. With the Style Tab, you can easily do it.
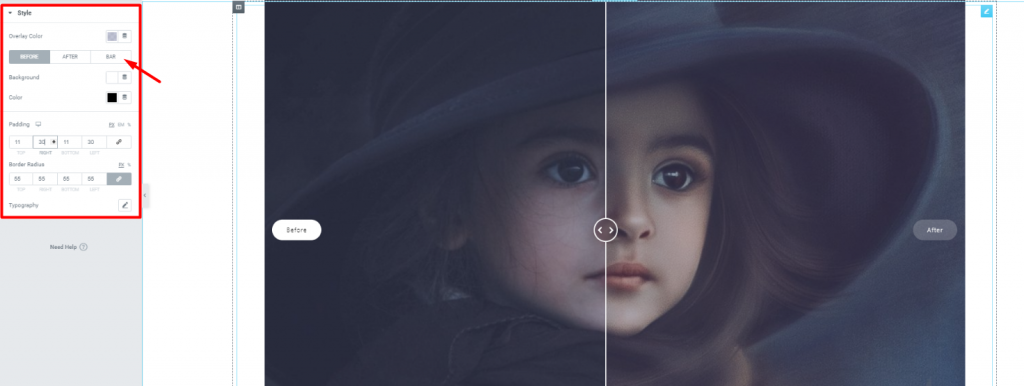
Look closely, on the arrow mark, you can see options for 3 parts of the image slider; Before, After, and Bar. However, the color settings are same for these three. Also, you can add padding and change the border radius of the Before & After tag.
Ops! I forgot to mention the Overlay option at the top. Like the image above, you can add any overlay color from the color spectrum. Additionally, you can change the fonts of the tags from Typography.

Image Compare widget is a fun tool you can play around with. Showing comparative images to your visitors can also be productive. As the image above, you can show different color comparison of the same product.
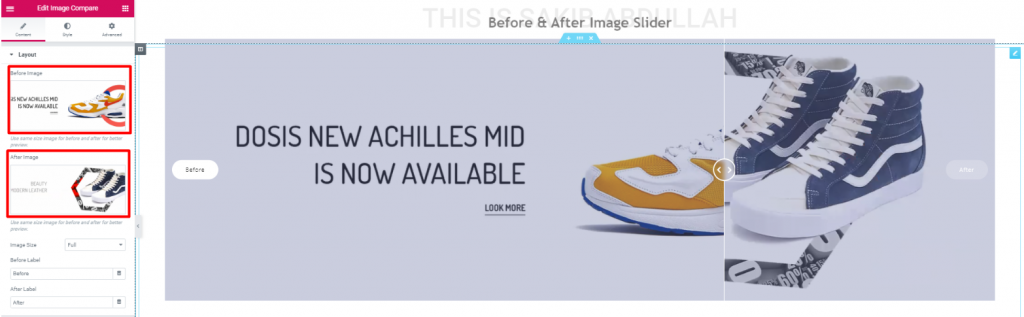
Similarly, you can show different products as comparative prices or new looks.
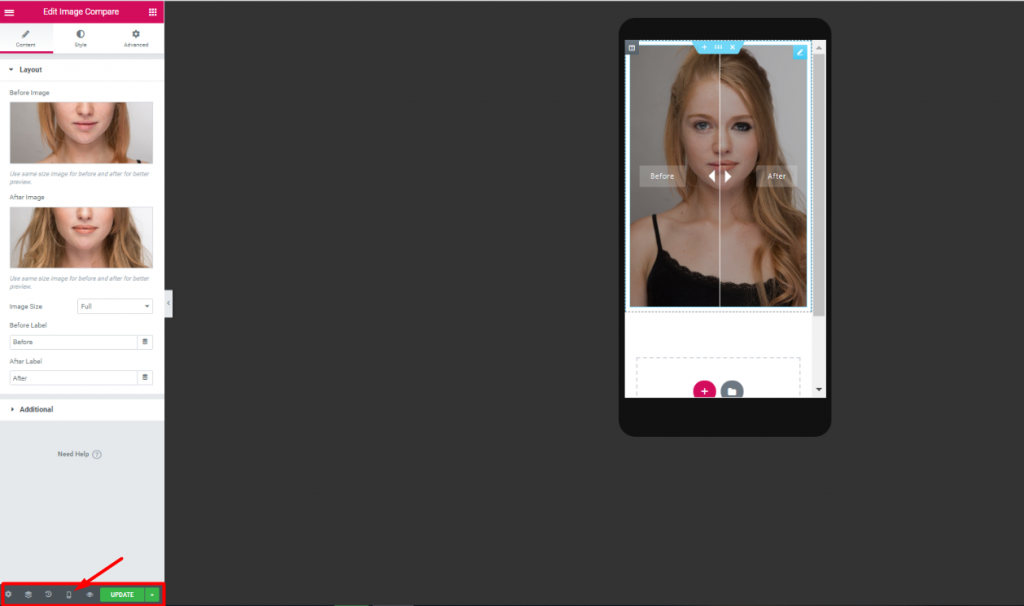
Also, remember to see the image slider in mobile and tablet view. Likewise, you can observe how your visitors will see it.
That’s it! I hope you have grasped the whole thing. You can also visit our knowledge base for additional support. This blog aims to give you bits and pieces of information for your benefit. So, if you are able to achieve your goal, it is our pleasure. Thanks for having patience. Have a great day.
Element Pack is a widget pack solution for Elementor page builder. With 190+ widgets, 270+ ready pages, and 1800+ ready blocks, Element Pack is now in the Top 5 worldwide.
Hope this blog answers your needs. Get into our newsletter to stay updated about all new posts.
Stay Home, Stay Safe.
Largest Elementor Templates pack with the most user-friendly UI and 300+ useful Elementor widgets. Build websites from zero to 100% perfection in no time.
This website is powered by Element Pack Pro and Rooten Theme.
Copyright © 2026 BdThemes. All Rights Reserved.