
Did you know, you can make a pop up using Elementor?
Yes, it is one of the unique features of Elementor where you can design popups yourself. Popups may serve as notification, luring traffic, displaying offers, and for exit intends. With the latest version of Elementor, you can design popups by custom or using templates.
To make a pop up using Elementor, go to the page >> set the pop up layout from settings and add elements like text, images, and button, etc. Once the pop-up template is ready simply save it. Then, drag the “Modal” widget from Elementor and attach the pop up template to modal for display.
So, let me show you how to make a pop up using Elementor.
Fangen wir an!
Make a pop up using Elementor | 7 Steps
Here, you will get to know-
- Make a popup template
- Use the template to make a popup
Note: although there are a lot of ways to design a popup template, the quickest way is to have an image on the background with a call-to-action button. This article will be imposing this method.
Step 1: Create Pop up Template
The first thing you need to do is to create the pop up that you will show on your webpage.
To do this, you need to go to your WordPress dashboard and create a template inside your page editor.
Now, this part usually needs a lot of steps using Elementor Popup Builder.
But, we are going to another route that will mostly take a couple of minutes to design such popups.
So, let’s open a page using the way you are familiar with Elementor.
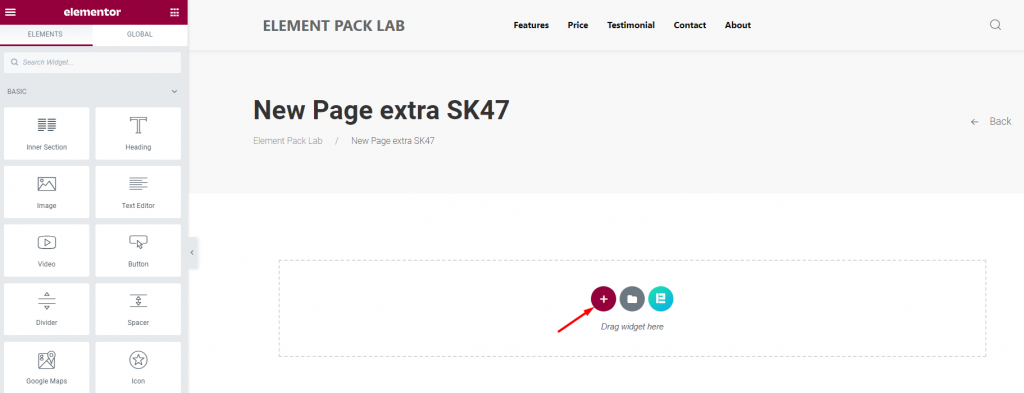
Open a new page and go to the Elementor page editor window.
Create a blank section by clicking the plus (+) sign.
Step 2: Design Your Pop up
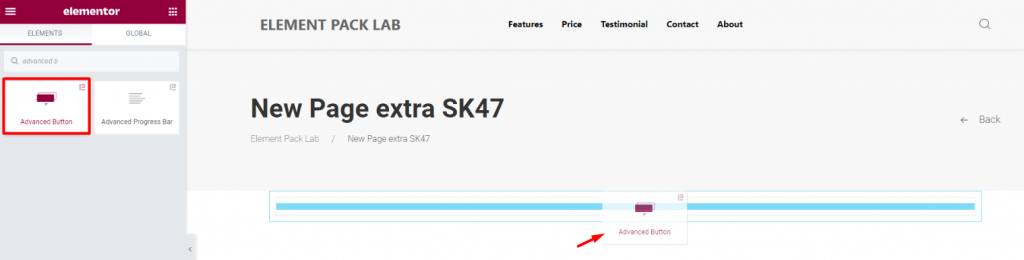
Drag a Button widget on your blank page to start creating the template.
You can choose the button widget either from Elementor or use Elementor addons library -Element Pack.
A popup needs the button to initiate the call-to-action.
Step 3: Pop up Window Settings
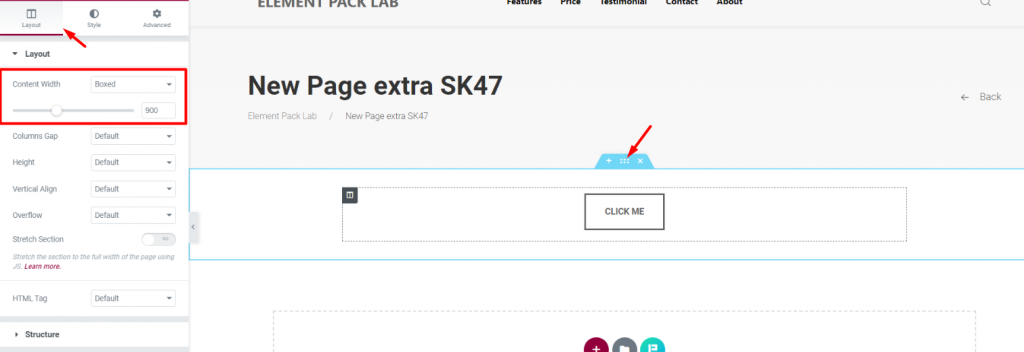
You need to determine the dimension of the popup you are making with Elementor.
Klicken Sie auf das section settings icon, go to the layout tab, and set the content width to 900.
You can choose narrow or broad content width as well.
It just follows the amount of info to be delivered with the popup.
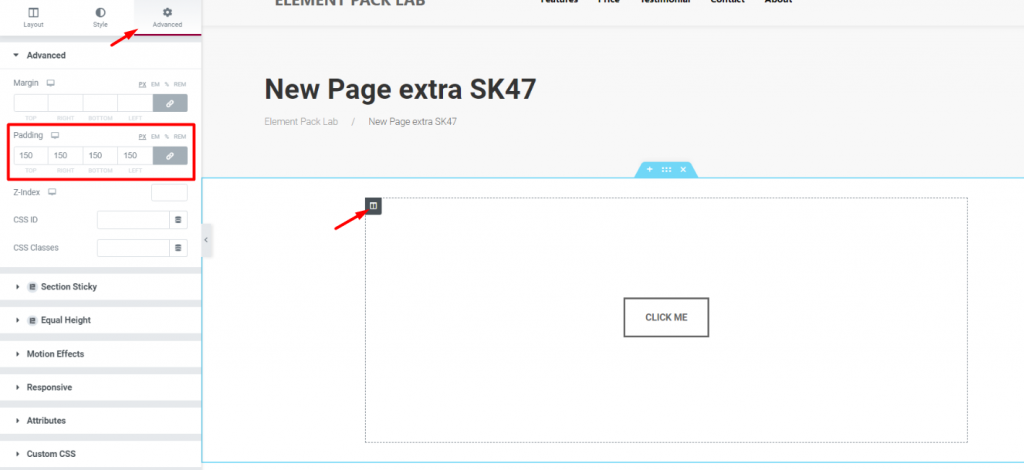
Next, click on the Column settings icon, go to the Advanced tab, and set a Polsterung of 150 in all directions.
By doing this, you will create a limited area to display the background image perfectly.
Step 4: Style The Pop up Template Using Elementor
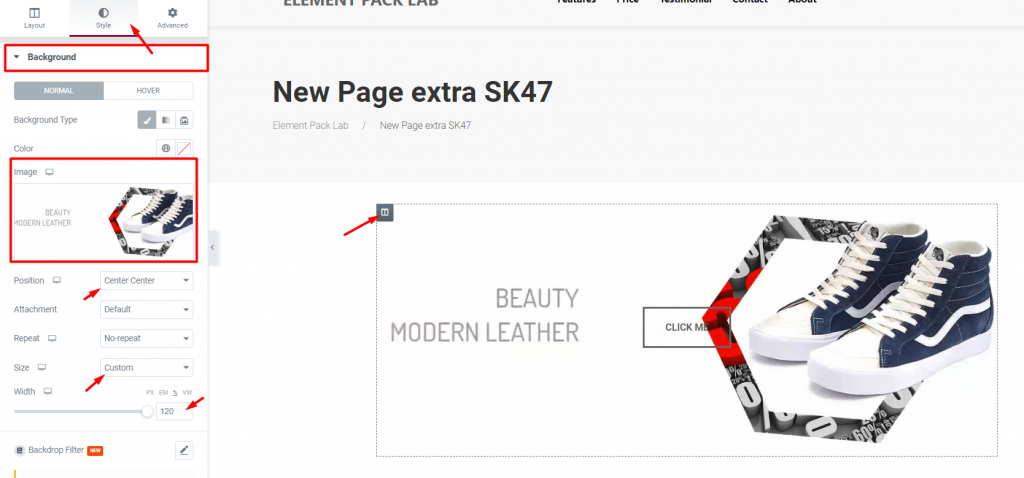
Add a background image to the popup by clicking the Column settings Symbol.
Choose your image from Style> Background and make the position Center Center.
If your image is too big, you can use the Benutzerdefiniert option on Größe and adjust the image width accordingly.
Note: you can place texts and images side-by-side using many sections if you like. Anything is possible.
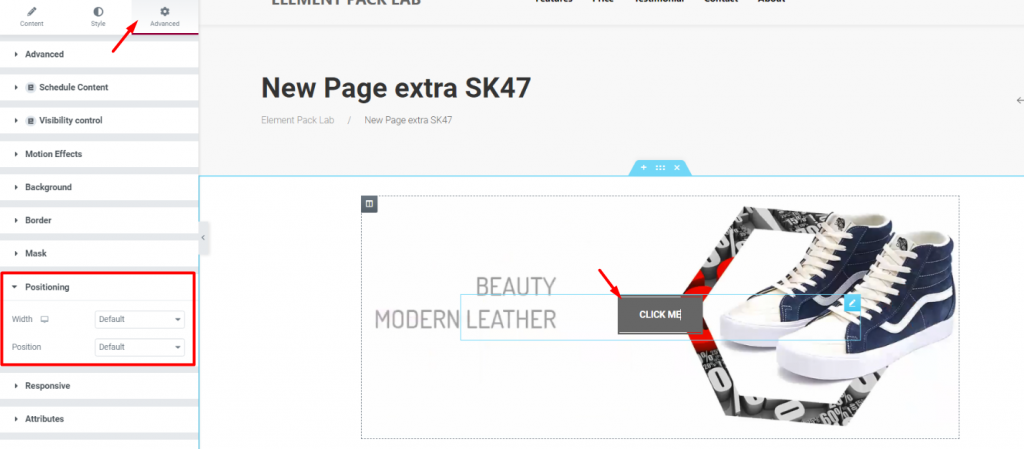
To make a pop up using Elementor, you must add the button to a certain position.
As an important call-to-action prompt, place the button with enough white area on the popup.
Klicken Sie auf das Taste widget, go to the Advanced tab, and then Positioning.
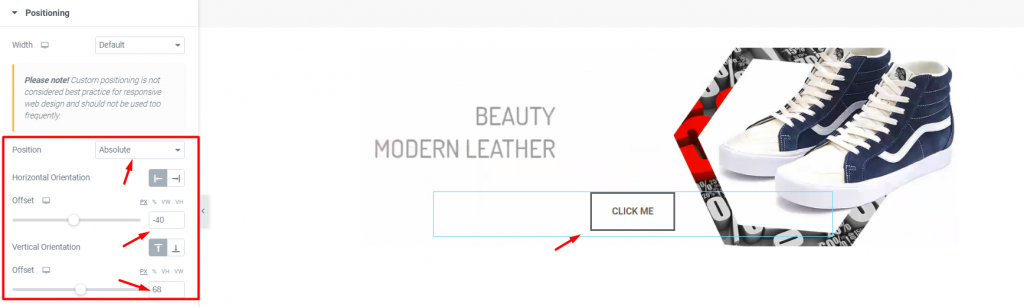
Now, change the Position from default to Absolute and adjust using the offset values.
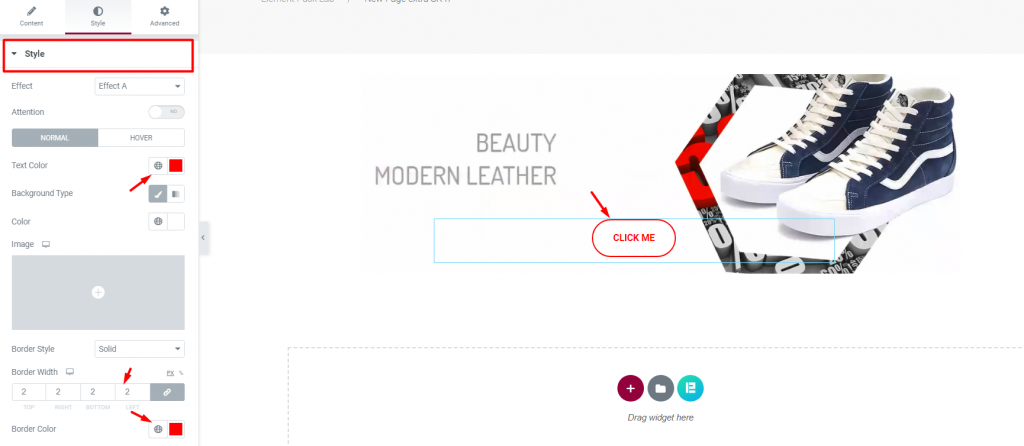
You can change the button style using colors and stuff to make it look more eye-catching.
Perfect!
You have just made an awesome pop up using Elementor.
Step 5: Finalize Template
Now that your pop up template is completed, it’s time to save it in Elementor.
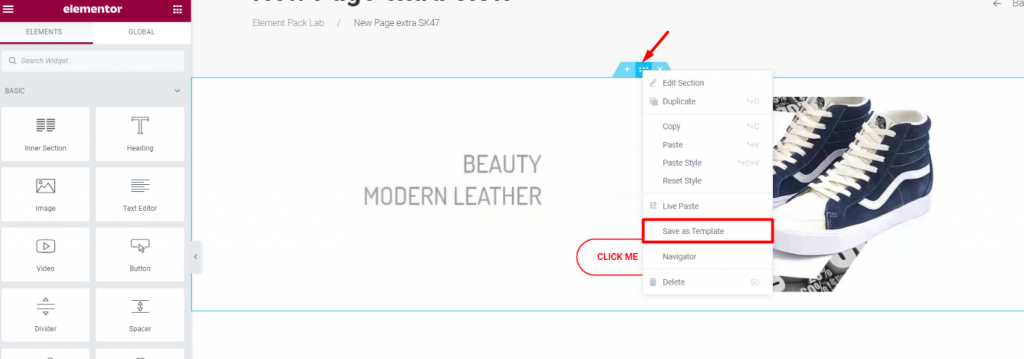
To do that, click on the section settings icon using the Right mouse button and click Save as Template.
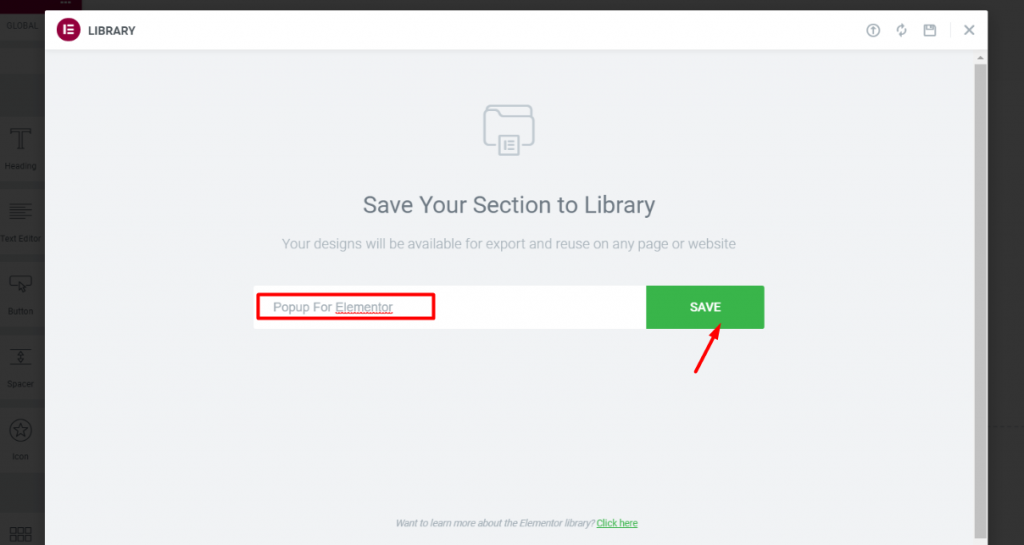
Next, you will get a name Feld und eine Speichern Sie Taste.
Give a name to the template and hit the save button.
With that, Elementor just imported the design into its template library.
Step 6: Make The Elementor Pop up
By using the pop up template with Modal, you can finish making a pop up that will show up inside your webpage.
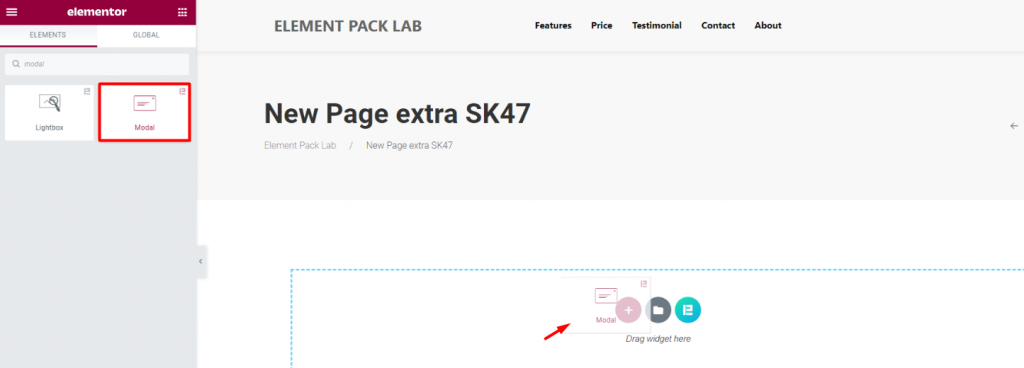
You need to go to the page where you want to show the pop up.
Drag and drop the Modal widget (by Element Pack) inside the page.
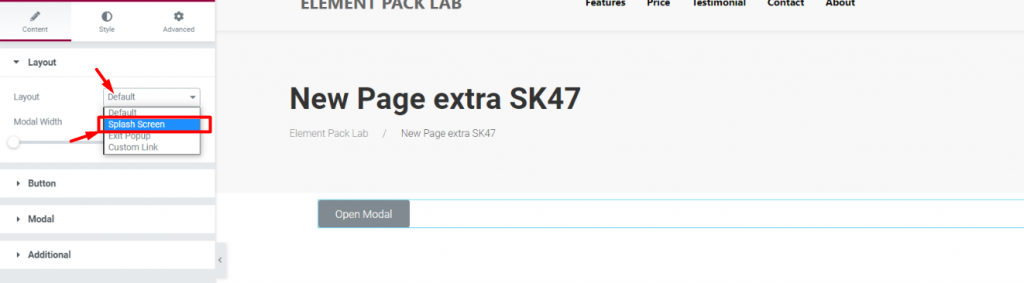
Modal is a Elementor pop up builder tool and works as a pop up with 4 different settings. Standard (button operated pop up), splash screen (time operated pop up), exit pop up (exit intend), and custom link.
Let’s go with Splash Screen this time.
Select it from the Layout Option.
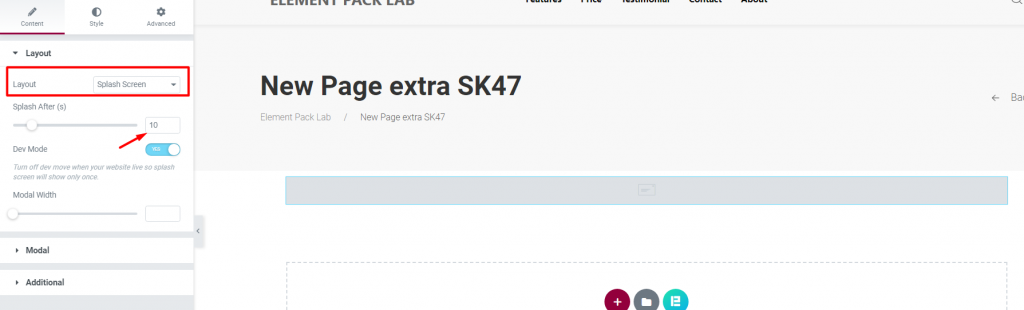
Then select the time of the pop up.
We used 10 seconds for the pop up.
Any user accessing and staying on the page for 10 seconds will see this pop up appear on the page.
Step 7: Attach Pop up Template to Modal
This is the last step.
Just attach the template to modal and you can make any pop up using Elementor.
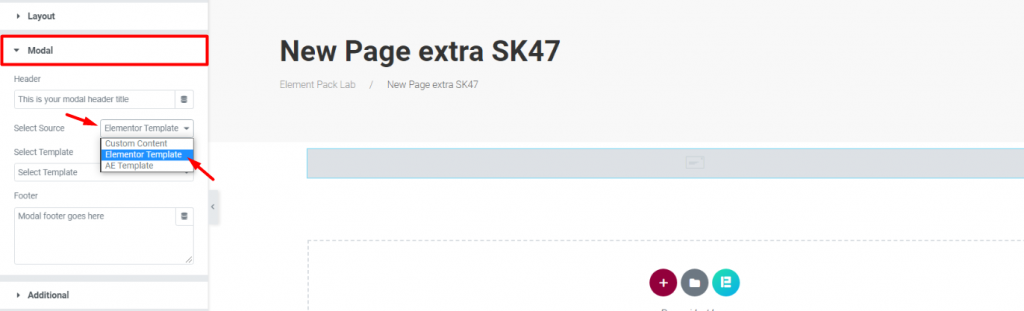
In the second section Modal, select Elementor Template as the source.
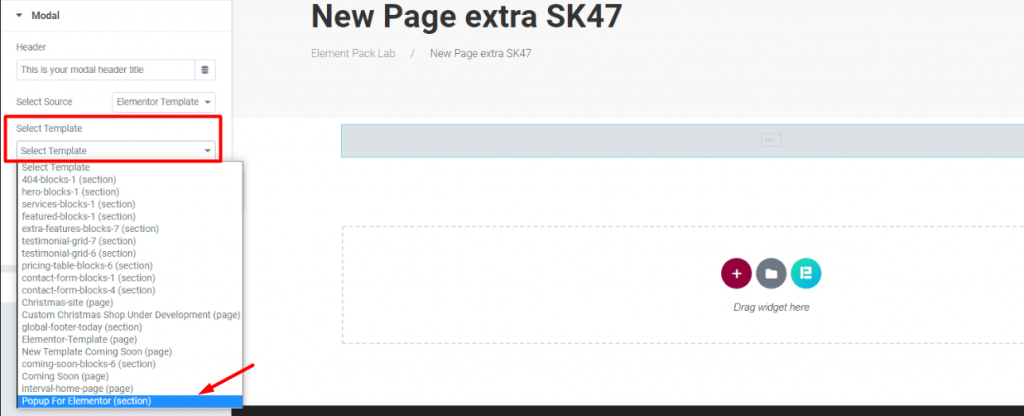
Now from the option Select Template, scroll until you find the template you have just made and choose it.
You will see the pop up instantly as a preview.
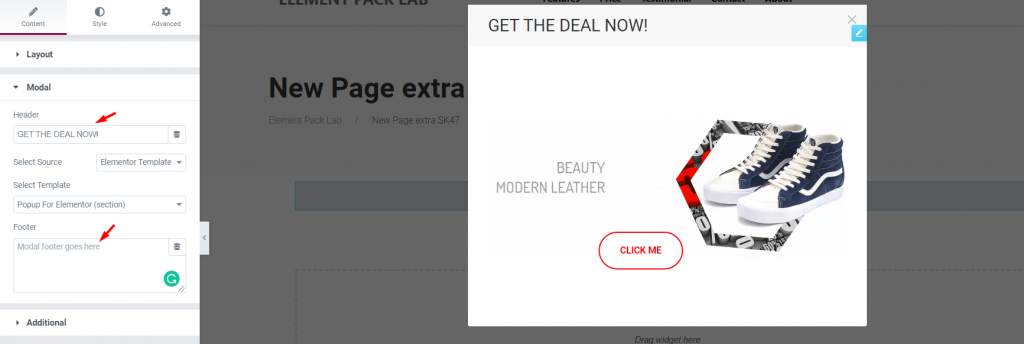
Here, you will find Kopfzeile & Fußzeile text field alongside the template.
Both will appear by default.
You can show any text if you like or simply erase them to turn them off.
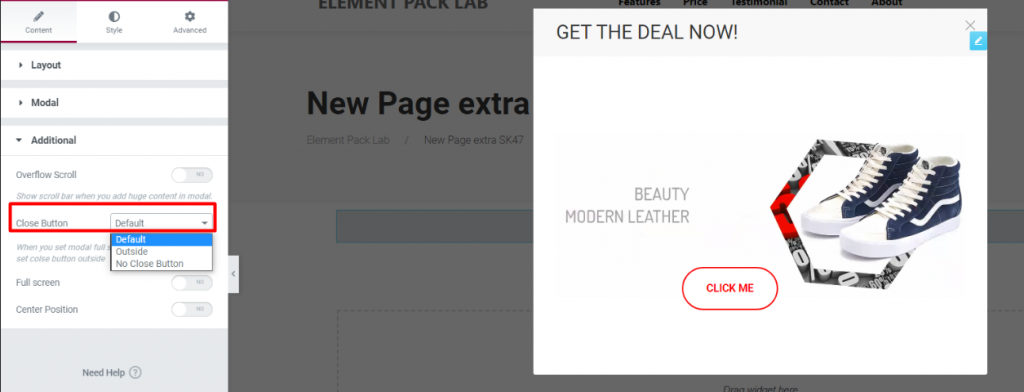
One more thing, you can keep the close button on the pop up or choose to remove it.
It’s totally your choice.
Schlussfolgerung
Making pop ups is super easy!
With a minimum effort, you can actually get a bunch of traffics using pop ups smartly.
In order to achieve the best result, see this blog: Wie man ein Exit Intent Popup in elementor erstellt
It will tell you how to design the perfect pop up to grab your potential customers into your buyer list.
Thanks for enjoying the article.