
The posts content widget in Elementor allows you to insert WordPress post content directly within any page or post, using dynamic data. It supports all post types, so you can create unique single post layouts that match your design goals.
While creating a single post content template, I ran into limitations with the free version of Elementor—something others may experience too. That’s why I’ve put together this step-by-step guide to help you add post content using the post content widget.
If you’re looking for a simpler way to structure content effectively, this approach might be just what you need.
Add Elementor Post Content Widgets in 5 Steps
To add a post content widget to your Elementor page, you have to use a plugin that provides a post content widget.
Because I’ve already built a single post template in Elementor using the Post Content widget, but I’ve run into a real limitation—my blog content isn’t one-size-fits-all.
Since I publish a mix of tutorials, reviews, and more media-heavy posts, the fixed structure of the template doesn’t always fit.
For example, when I try to embed YouTube videos, insert code blocks, or place clickable images between sections of text, the layout feels restrictive. Managing all of that through just the post content widget becomes frustrating and clunky.
So I would recommend using an Element-based add-ons plugin that provides single-post content widgets. Also, I will show you here in just 5 steps how to add a post content widget in Elementor websites using an add-ons plugin.
No need to wait—here are the 5 steps you need to follow
- Step 1: Enable post content widgets
- Step 2: Create a post content template
- Step 3: Design the post content template
- Step 4: Customize the post content template
- Step 5: Hit publish and apply the template
Step 1: Enable post content widgets
To use Elementor’s Post Content widget, start by installing a plugin that includes it. Once installed and activated, ensure the widget is enabled in the plugin’s settings so that it becomes available in your Elementor panel.
To make things easier, I’m using the Element Pack plugin in this article. Feel free to use it as well—it’s a great option for creating post content pages template with Elementor.
Additionally, I got it features exclusive capabilities that distinguish it from other plugins. Like, 300+ premium widgets, 2700+ dynamic templates, fully customizable, etc.
So, let me show you how to enable the plugin widgets in Element Pack:
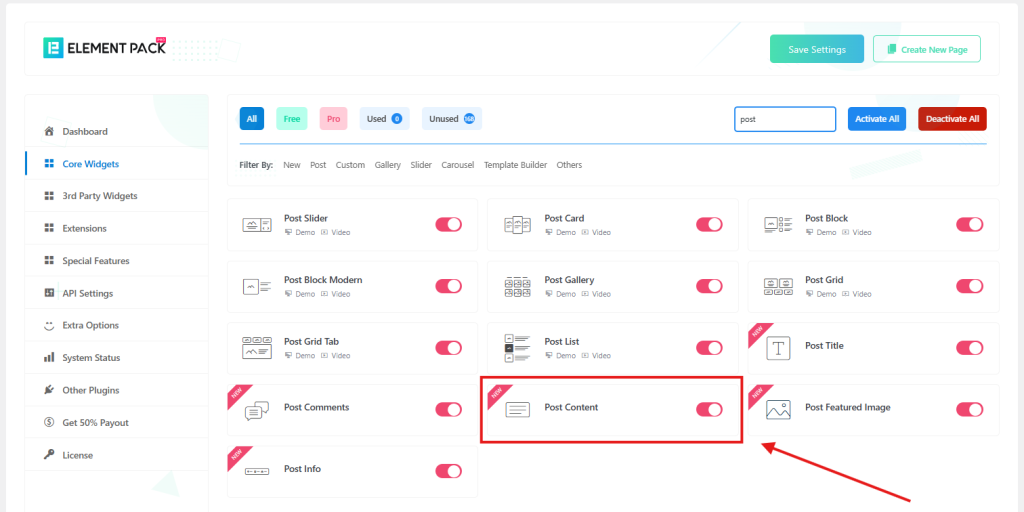
- Navigate to Element Pack >Core Widget tabs in the Element Pack Dashboard to enable and manage the widgets suitable for your page.
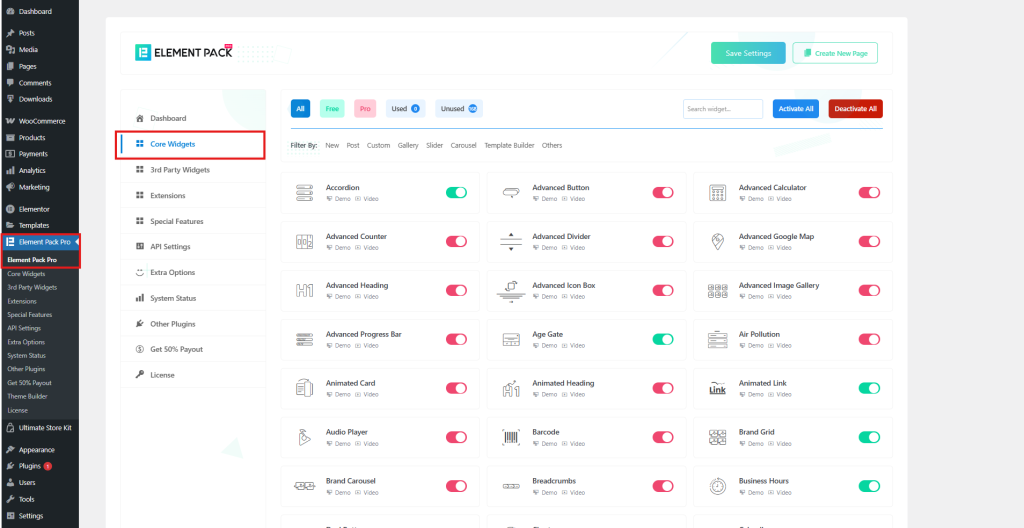
- Here, I’m enabling the Post Content widget and other widgets that I want to add to my single post content page.
Step 2: Create a post content template
The key benefit I see in using Element Pack is the ease with which you can build any page template and set it as the default easily. So, see how easy it is to set up a template for post content.
Let’s create a template.
- Go to Element Pack > Template Builder in the sidebar.
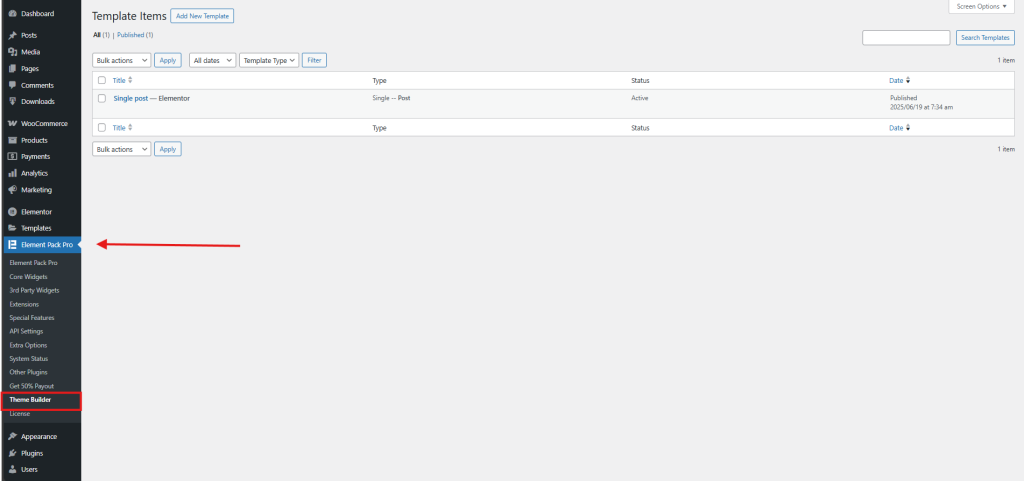
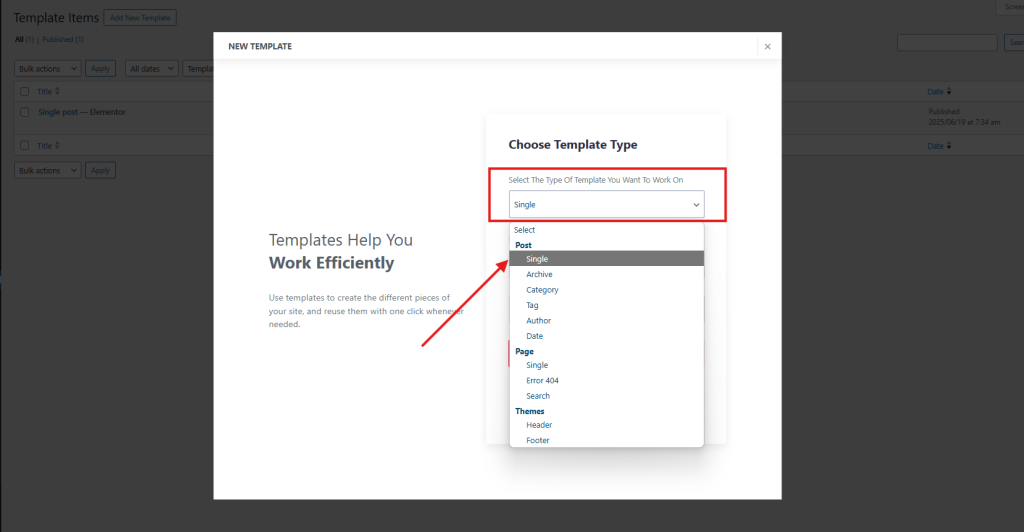
- Create a new template by clicking Add New Template > Choose the Type of Template > Post > Single
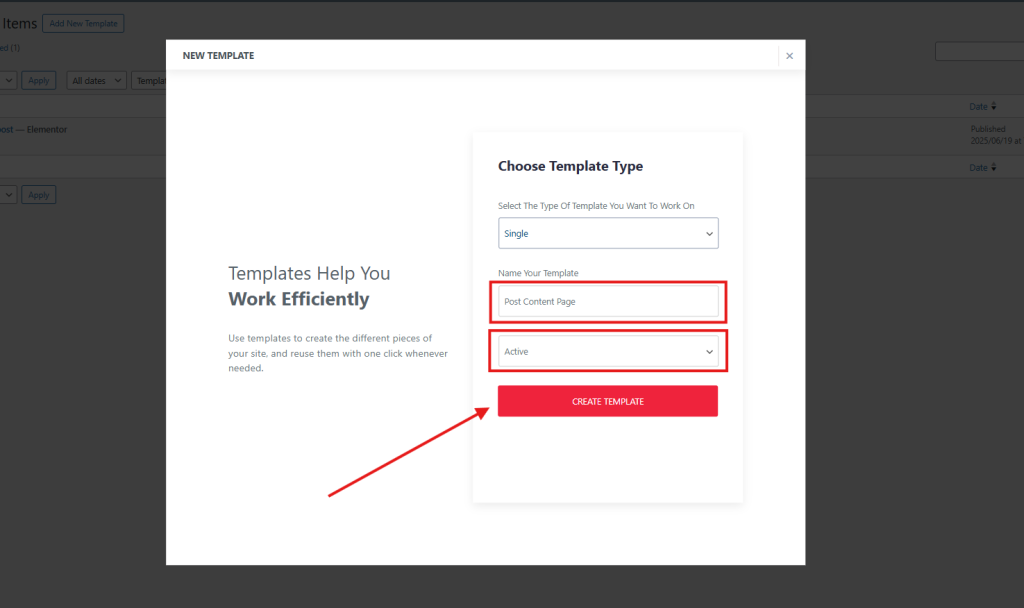
- Type the name of your template and select Active, then press the Create Template button.
- Now, the template will be open with the Elementor editor.
Step 3: Design the Post content template
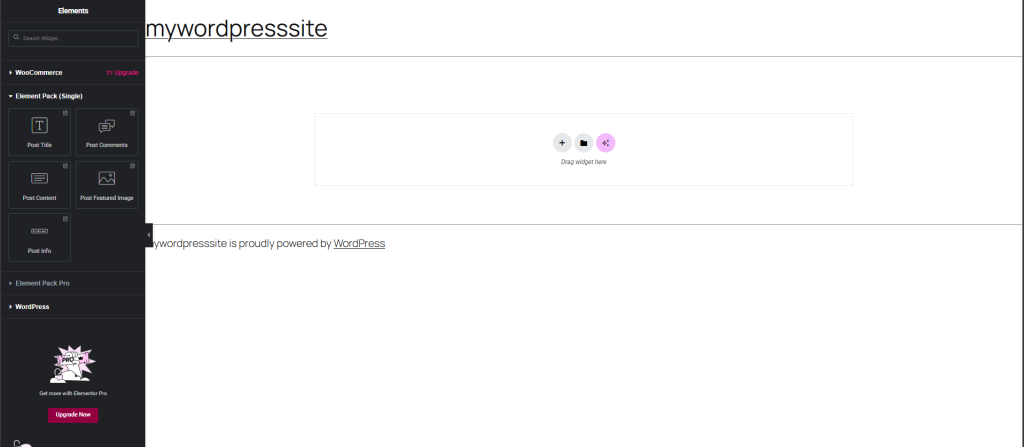
- Once the template is created, it will automatically open in the Elementor Editor for design.
- Select a layout structure in Elementor to adjust the design of your post content page. Choose a format that best fits your post style and blog presentation, then start customizing to create a unique and engaging single post page.

- Now that you’ve selected a layout structure, it’s time to add widgets to your single post content page. Click on the Add Element Button > Find Element Pack (Single) section.
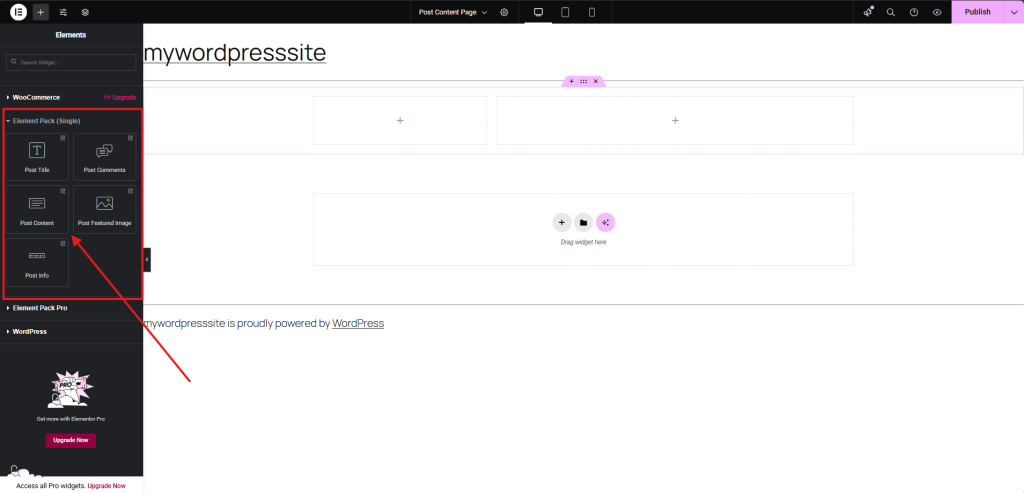
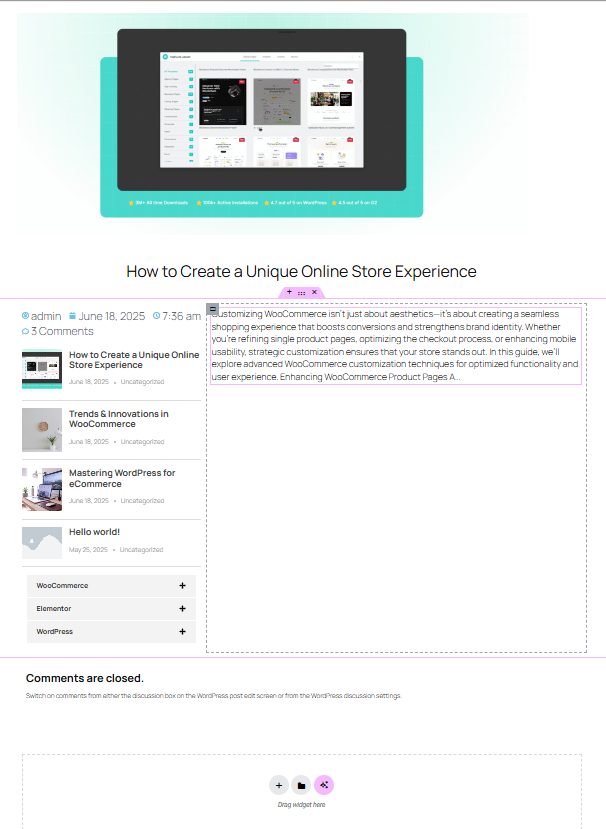
- Drag and drop a widget like the Post Content widget in the layout to present post content. Similarly, decorate the page with more layouts, and add post titles, post feature images, post comments, post info, and other necessary widgets.
Step 4: Customize the post content template
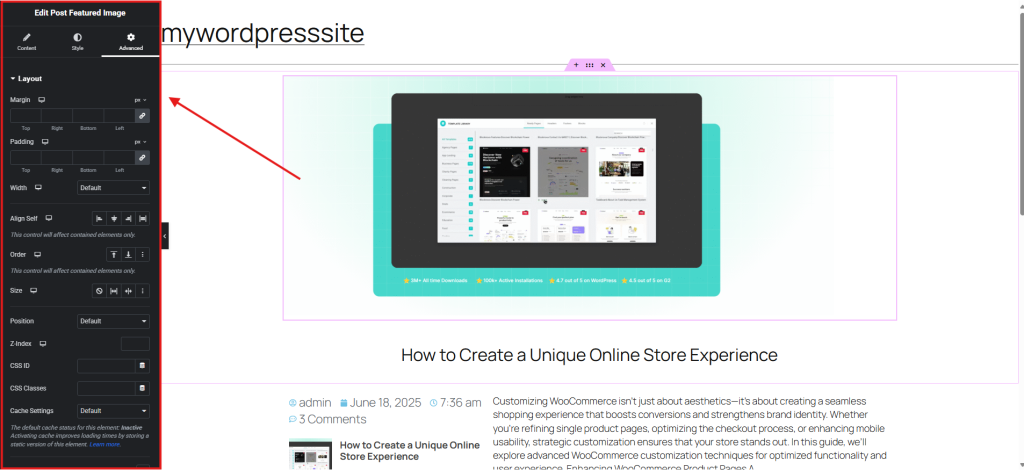
- Now customize and style it up! Adjust padding, spacing, typography, and add conditions—like hiding certain elements on mobile or applying different styles for specific categories.
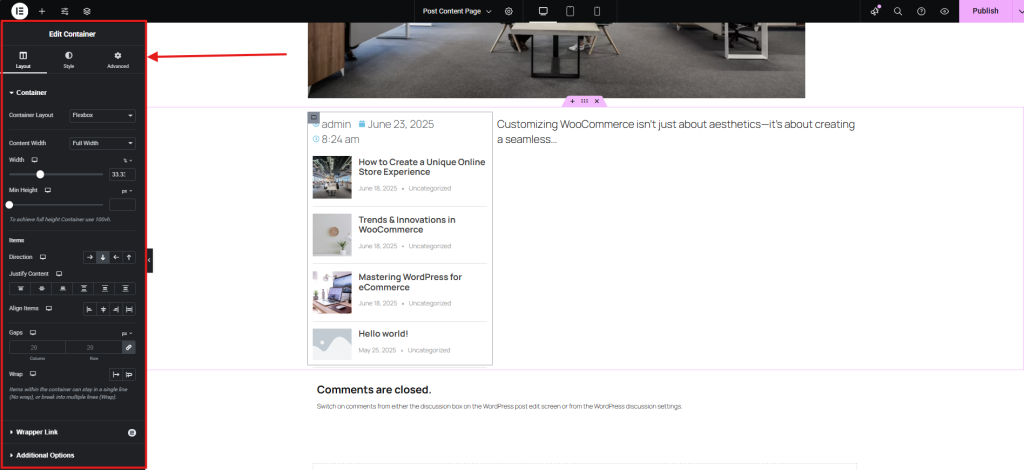
- Also, customize each widget to suit your needs
Step 5: Hit publish and apply the template
When you are finished with your design and customization, press the Publish button and preview it.
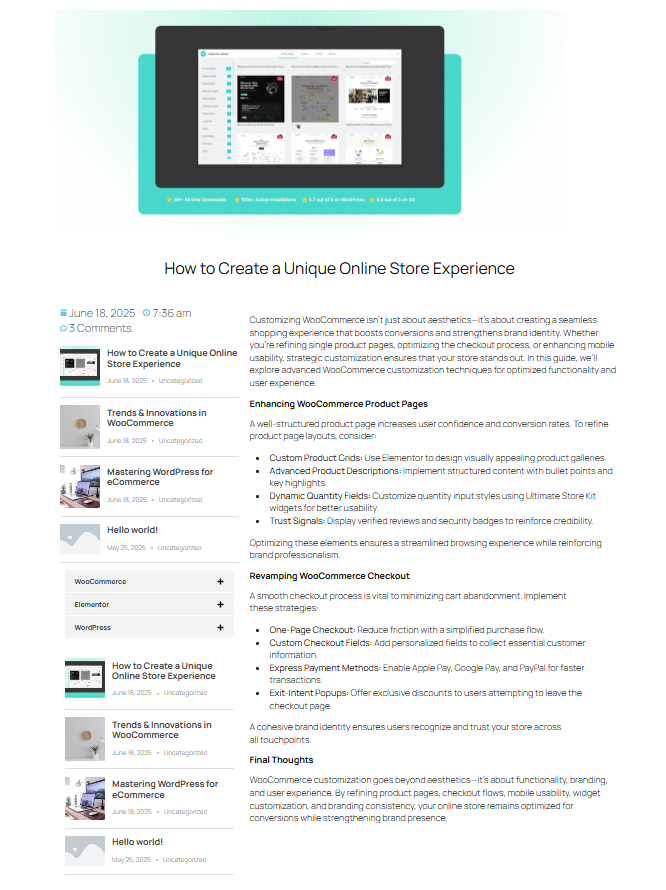
I have designed another single page using this method, which I am also sharing here.
How to Add Post Widgets for Elementor?
Till now, we’ve discussed how you can add the Post Content widget in Elementor to dynamically display your blog content. But what about other post widgets like grids, carousels, or timelines? Well, you can add all these widgets easily using Elementor Pro or powerful free add-ons like Ultimate Post Kit. So, here are the other essential widgets you can add for your posts:
1. Post Grid Widget
This widget lets you display your posts in a clean, organized grid layout. You can customize the number of columns, image size, excerpt length, and even enable a masonry layout for a Pinterest-style look.
2. Post Carousel
Want to showcase your posts in a sliding format? The Post Carousel widget is perfect for highlighting featured or recent posts in a visually engaging way. It’s great for homepages or landing pages.
3. Post Tabs
This widget allows you to categorize your posts into tabs—ideal for news sites or blogs with multiple categories. Visitors can switch between tabs to view different types of content without reloading the page.
4. Post Timeline
Perfect for storytelling or chronological content, the Post Timeline widget displays your posts along a vertical or horizontal timeline. It’s a creative way to show progress, events, or historical posts.
5. Post List
If you prefer a more traditional blog layout, the Post List widget gives you a vertical list of posts with thumbnails, titles, and excerpts. It’s simple, clean, and effective.
6. Post Ticker
This widget adds a scrolling ticker of your latest posts—great for breaking news or announcements. It adds a dynamic, real-time feel to your site.
These widgets are available in Elementor Pro or through free and premium add-ons like Ultimate Post Kit, which offers a wide variety of layouts and styles—from minimalist grids to interactive hover effects.
FAQ
1. How do I add a Post Content widget in Elementor?
To add the Post Content widget:
– Install a addon plugin, which provides a post content widget like Element Pack.
– Open your Elementor editor and ensure you’re editing a Single Post template.
– Drag the Post Content widget from the Elementor panel onto your layout.
– This widget displays the main body content from your WordPress post, pulled dynamically.
2. What is the Post widget for Elementor?
The Posts widget (under “Pro” widgets) allows you to display a grid, list, or masonry layout of blog posts on any page. You can customize query filters, layout structure, pagination, and style to match your design.
3. How do I add a widget in Elementor?
– Inside the Elementor panel, simply search for the widget you need.
– Click and drag it into your layout where you’d like it to appear.
– Use the left-side options panel to configure styling, content, and advanced settings.
4. How do I add post categories in Elementor?
To display post categories dynamically:
– Use the Posts widget or Archive Posts widget.
– In the Query settings, choose to filter by Categories.
– Alternatively, insert a Taxonomy widget (if available via your add-ons), or use shortcode/HTML widgets to display category links manually.
Conclusion
In this full tutorial, I walked you through the complete process of integrating the Post Content widget in Elementor—from setting up the structure to positioning and styling it within a custom layout.
By using this widget effectively, you ensure every post dynamically pulls in and displays its main content while preserving design consistency across your site. It’s a must-have piece when building truly dynamic templates that scale effortlessly.
I hope this guide has equipped you with both the technique and confidence to structure high-performing Single Post layouts with Elementor using post content widget.
Please do not hesitate to leave any questions or comments in the space provided below. Wishing you all the best!
If this article resonated with you, remember to subscribe to our newsletter for more captivating articles, updates, and special offers sent straight to your inbox. Furthermore, follow us on Facebook, X, and YouTube to keep yourself informed.