豊富なメニューオプションによる容易なナビゲーション
視覚的な商品選択が売上を加速させる
パーソナライズされたコンテンツがリアルタイムで適応
UXフローを改善するシームレススクロール
瞬時にコンテンツを複製し、時間を節約
パワフルなデザイン要素に素早くアクセス
既製のテンプレートがデザインをスピードアップ
柔軟なデータのための高度なカスタムフィールド
手間をかけずに簡単にサイトをクローン
あらゆるスクリーンに対応する、鮮明でスケーラブルなグラフィック
ツールをリブランドしてプロフェッショナルな外観に
正確なコンテンツの表示・非表示
滑らかな動きで奥行きを魅せる
明確なメモや注釈を簡単に追加
役立つヒントがユーザーとのインタラクションを向上
スタイリッシュなアニメーション
重要なセクションは常に見えるようにしておく
カスタム・コードの微調整によるフル・コントロール
ファイルを最適化してサイトのスピードを上げる
年中無休で対応いたします。喜んでお手伝いいたします。
BdThemesで各機能の詳細なガイドラインをご覧いただけます。
ワードプレス、ウェブデザイン、その他について新しいことを学び、情報を得る。
私の成長における重要なマイルストーンをいくつか紹介しよう:
ビデオで製品の使い方、WordPressのヒントとコツを学ぶ
プロモーションに参加することで、高額なコミッションを得ることができます。
Widget Idea Shareは、あなたが改善できる類似ウィジェットを見つける素晴らしい方法です。
確かに!私たちと連絡を取る必要がある場合は、お気軽にご連絡ください。
Sigma Forms を使って WordPress のフォームを数分で作成しましょう。.
ページ・ビルダー・プラグイン
One Accessibilityでウェブサイトを簡単にアクセシブルに
信頼と信用を高めるために、顧客の声を表示する。.
Zoloblocksは、Gutenbergベースの魅力的なウェブサイトを作成するのに役立ちます。.
Elementorスライダー時代の最も優れたスライダー
Elementorで唯一互換性のあるブログ用ウィジェット
ビジネス向け次世代型WordPress eコマースサイトの構築
Elementorで毎回違うエンジェルで写真を整理する
スピンホイールを使ってエンゲージメントを高め、売上を増加させましょう。.
WordPress用AI画像生成プラグイン ChatGPT
WooCommerce用の360°拡張現実を今すぐ入手しましょう!
好きなウェブデザインを2クリックでコピー&ペースト!
無制限のオプションを備えたelementorのための完全に機能するテーマ
スマート、クリーン、フレキシブルなGutenberg用ブロックテーマ
Dark Readerプラグインは、目に優しいウェブ閲覧を保証します。.
コンバージョンを高めるWooCommerceのワンページチェックアウト。
Find Nearby Stores Instantly with Sigma Store Locator
The Ultimate WordPress Media Library Organizer
Are you looking for the best before and after image slider for your website? Worry no more! Cause we have the right solution for you. Today, we are going to show you how you can make one easily using Elementor.
A before and after image slider creates a slideshow by placing two similar images side-by-side. With a slider bar, you can drag it back and forth to see both comparing images. After all, it is an interesting way to showcase newly arrived products, the growth of your company, or special meanings. Not only it makes your visitors attracted to it, but also it shows the effects of your product or service. Indeed, it is a pretty good piece of a tool!
Generally, people use photo editor tools to make this type of effect. But using a simple 画像比較 widget, you can easily achieve this feat. Note that, the company Element Pack has developed this widget. This widget is a fully functional image slider that helps you show 2 different versions of the same image. Furthermore, you can use it in any way you like.
もう世間話はいらない。本題に入ろう!
First, go to your web page where you want to use this slider. As we are doing this using elementor, make sure to install Elementor and Element Pack Lite plugins into your dashboard. However, we will not talk about installing procedures in this blog.
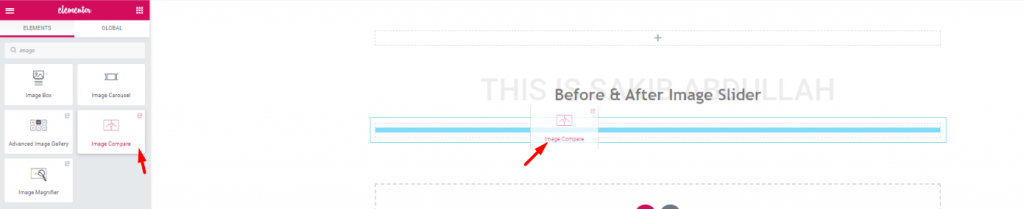
Though it is not worth mentioning, still beginners might find it hard. Just search for the 画像比較 widget in the widget menu. When you see it (it has ElementPack logo on it), drag and drop it into a section in the editor.
Once you drop it, you will see the default setup of the slider at the start. However, this is the レイアウト セクションの 内容 tab. You can choose any type of image for the image slider to show it here.
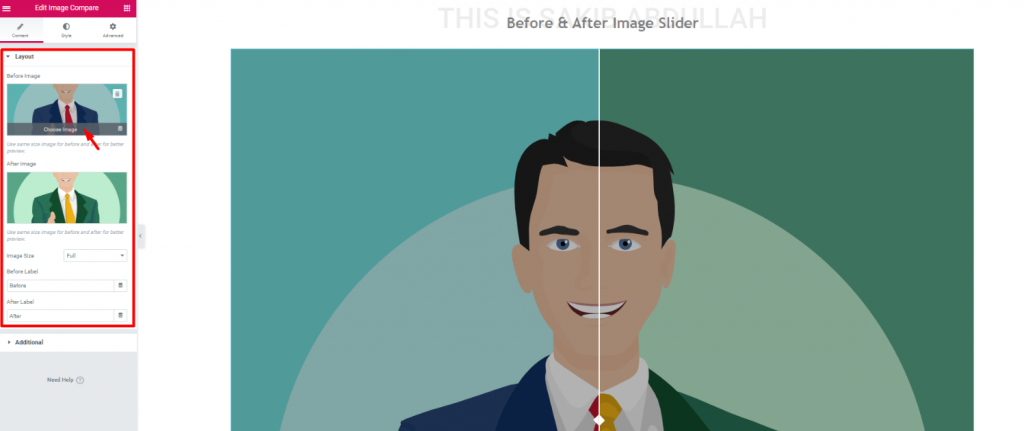
Let’s change the pictures. For starters, let’s select normal ones.
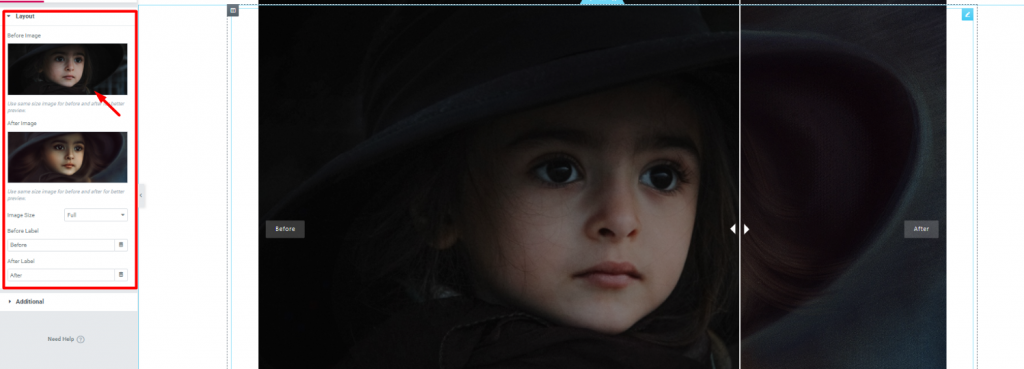
Once you insert an image, you can change their size from 画像サイズ option. Generally, the larger the image, the more space it will take. For an image with a 1000-pixel height but only 500-pixel width, it will increase the slider length by a 1000 pixel.
Moreover, you can change the ‘After’ & ‘Before’ tags from here. Let’s talk about this part later and move on to the next section.

こちらへ Content Tab> Additional
について 追加 option is also known as interface settings. From here, we can change the slider bar orientation to either Vertical or Horizontal. Also, you can change the ‘before image‘ visibility. The Overlay switcher turns on/off overlay on the whole before and after image slider.
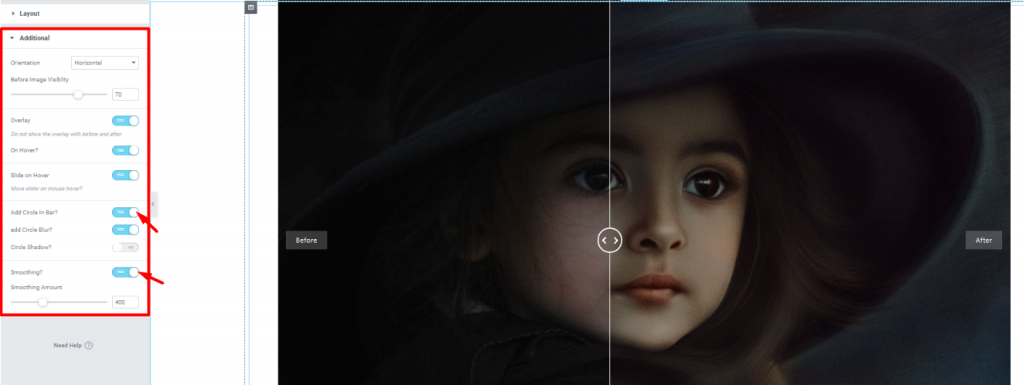
Once again, there are some things to talk about in this section. Notice that, you can add a circle in the middle of the slider bar. Also, you can add a blur effect to the circle.
One more interesting thing here is, you have the option to smooth the hover-drag of the slide bar. Turn on the switcher Smoothing? to smooth the hover-drag. However, you can adjust the sensitivity of the image slider bar with the scroll button below.
オフィシャルサイトにご登録いただいている皆様を対象に、プレゼント企画を実施いたします。 BDthemes.com
訪問 Element Pack または プライムスライダー あなたの感想をお聞かせください。ラッキーな当選者には、$100相当の生涯ライセンスを差し上げます。参加にかかる時間はわずか1分です。
Up to this point, all those settings you saw were basic settings. Now, let’s put some colors on your image slider. With the スタイルタブ, you can easily do it.
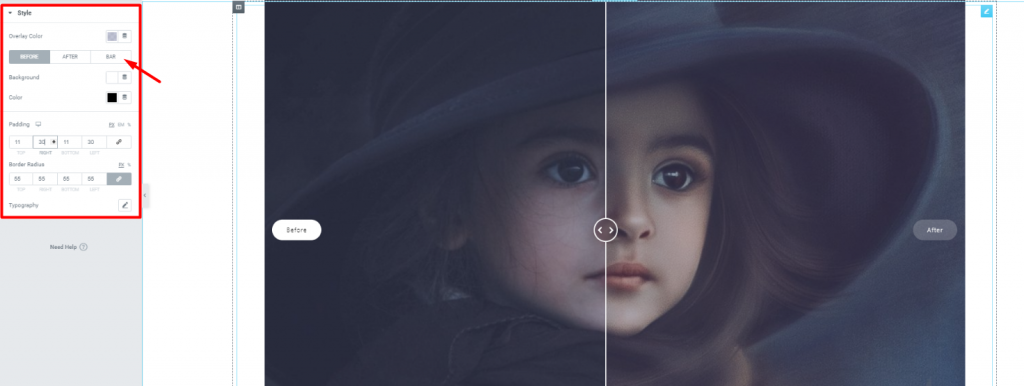
Look closely, on the arrow mark, you can see options for 3 parts of the image slider; Before, After, and Bar. However, the color settings are same for these three. Also, you can add padding and change the border radius of the Before & After tag.
Ops! I forgot to mention the Overlay option at the top. Like the image above, you can add any overlay color from the color spectrum. Additionally, you can change the fonts of the tags from タイポグラフィ.

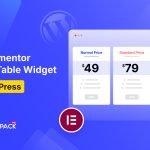
Image Compare widget is a fun tool you can play around with. Showing comparative images to your visitors can also be productive. As the image above, you can show different color comparison of the same product.
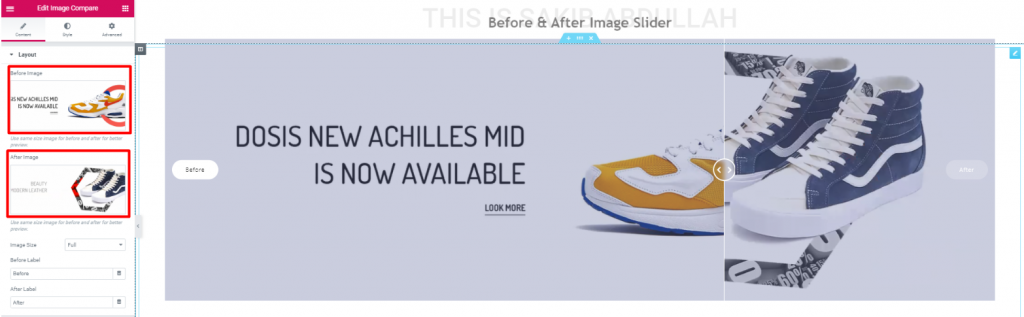
Similarly, you can show different products as comparative prices or new looks.
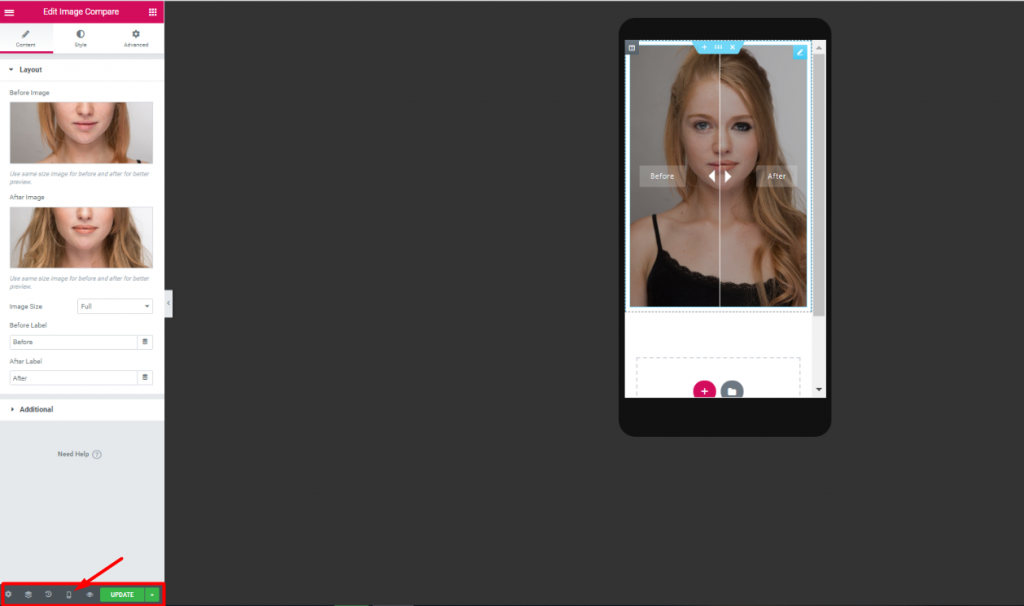
Also, remember to see the image slider in mobile and tablet view. Likewise, you can observe how your visitors will see it.
That’s it! I hope you have grasped the whole thing. You can also visit our knowledge base for additional support. This blog aims to give you bits and pieces of information for your benefit. So, if you are able to achieve your goal, it is our pleasure. Thanks for having patience. Have a great day.
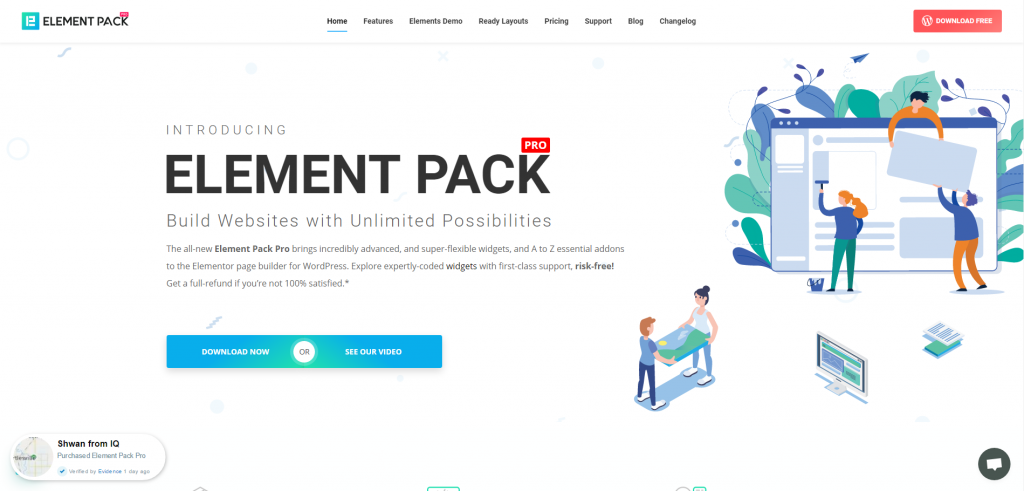
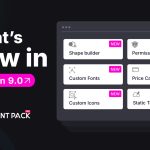
Element Pack is a widget pack solution for Elementor page builder. With 190+ widgets, 270ページ以上そして 1800以上のレディ・ブロック, Element Pack is now in the トップ5 ワールドワイドで。
Hope this blog answers your needs. Get into our newsletter to stay updated about all new posts.
Stay Home, Stay Safe.
最大のElementorテンプレートパックは、最もユーザーフレンドリーなUIと 300+ 便利なElementorウィジェット。ゼロからウェブサイトを構築 100% あっという間に完璧になる。
このウェブサイトは Element Pack Pro そして ルーテンのテーマ
Copyright © 2026 Bdテーマ. 無断複写・転載を禁じます。