
If you want to highlight visuals, products, or testimonials in a modern, interactive way, Elementor’s carousel widget is the perfect tool.
From image galleries to product sliders and testimonial showcases, you can easily build stunning carousels, even if you are a non-developer.
To add an Image Carousel in Elementor, open your page and edit with Elementor > Drag the Image Carousel widget > Upload your images > Add tooltips and text, then set up the navigation style you prefer. Finally, adjust the carousel settings, like autoplay, speed, and loop, to match your needs, and you’re all set. For more flexibility, try the Element Pack Image Carousel addon with its advanced carousel options.
In this guide, I’ll explain how to use the image carousel widget and enhance it with third-party plugins for advanced styling, navigation controls, and custom CSS.
What is Image Carousel in Elementor?
An Image Carousel (often called a slider) is a widget in Elementor that lets you showcase multiple images in a sliding gallery format. With Elementor’s drag-and-drop builder, adding and styling a carousel is simple.
The built-in carousel works well for basic needs, but it has limitations when it comes to advanced designs or professional layouts. For more flexibility, it’s better to use a third-party plugin. These plugins enhance design options, improve mobile responsiveness, and support dynamic content, SEO, and accessibility.
They also unlock advanced features like video slides, conditional display, and layered animations, capabilities not available in Elementor’s free version.
How to Add Elementor Image Carousel?
With just a few steps, you can set up, customize, and style a carousel that fits perfectly with your website’s design. So, let’s dive into the step-by-step process:
Step 1: Add the Image Carousel Widget
- Open your page in the live page builder Elementor

- Search for “widget carrusel” or “image carousel widget” (or Image Slider, depending on your plugin).
- Drag it into the section where you want the carousel to appear.
Consejo: If you’re working with third-party plugins or Elementor templates, you’ll find that many offer enhanced custom carousel widgets with expanded functionality, design flexibility, and customization options.
For this tutorial, I recommend using the Element Pack addon, which provides a robust set of carousel options.
In the example below, I’ve demonstrated the process using Element Pack’s Logo Carousel widget for a clean, responsive layout.
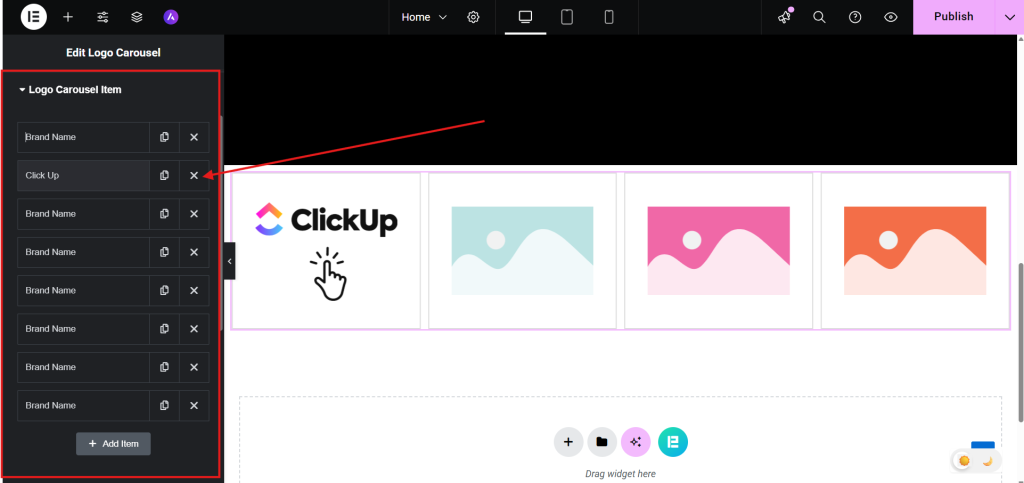
Step 2: Upload and Arrange Image Items
- From the left sidebar Contenido tab > Logo Carousel Item
- Haga clic en el botón Brand name o + Add Item.

- Select images from your media library or upload new ones.
- Add alt text, captions, or thumbnail previews for SEO and accessibility

- Arrange them in the order you want them to appear.
- Use nested elements like headings or buttons within the carousel
Step 3: Enable Tooltip (Optional)
Want to show image titles or descriptions on hover?
- Ir a la Contenido ficha.
- Activar Información sobre herramientas.
- Customize the text, position, and styling.

This is useful for product names, photo credits, or short descriptions.
Step 4: Set Up Navigation
Choose how users will interact with your carousel:
- Arrows: Add left/right navigation buttons.
- Dots: Show pagination dots below the carousel.
- Both: Combine arrows and dots for full control.

You can also choose whether navigation appears on hover or is always visible.
Step 5: Configure Carousel Behavior
Fine-tune how your carousel behaves:
- Autoplay: Automatically rotate images.
- Speed: Set how fast slides change.
- Loop: Enable continuous rotation.
- Pause on Hover: Stop autoplay when hovered.
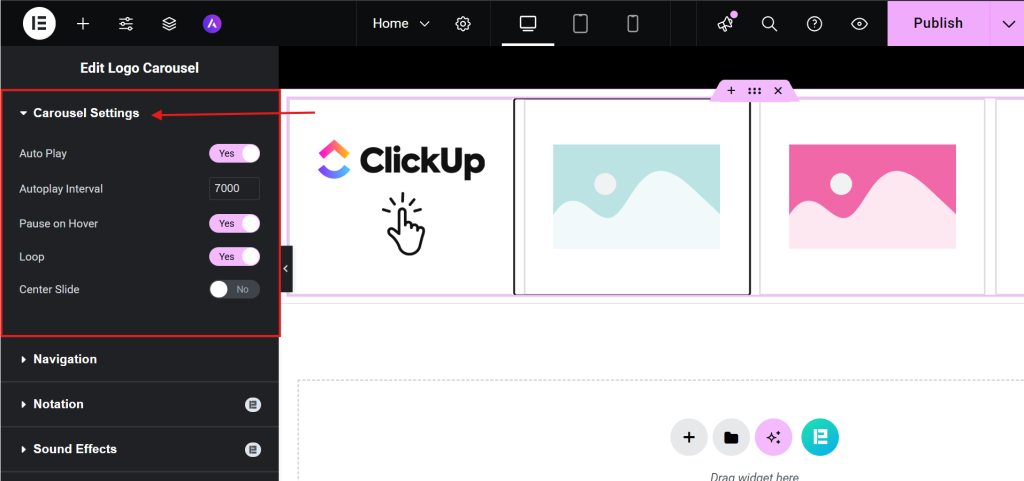
These settings help create a smooth and engaging user experience.
How do you add text to the image carousel in Elementor?
To add text in an Image Carousel using Element Pack for Elementor, follow these steps to create a visually rich and interactive slider:
- Choose a widget that has a text adding option
- Here, I am choosing the Panel deslizante widget of Element Pack
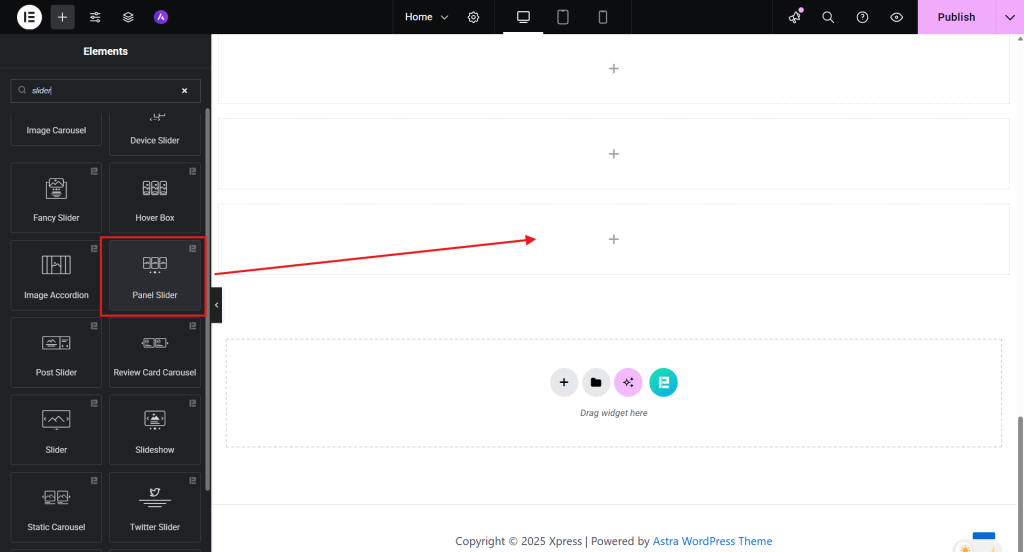
- For each slide, upload an image.

- Añadir un title, description, and even a Seguir leyendo button directly to the slide settings.
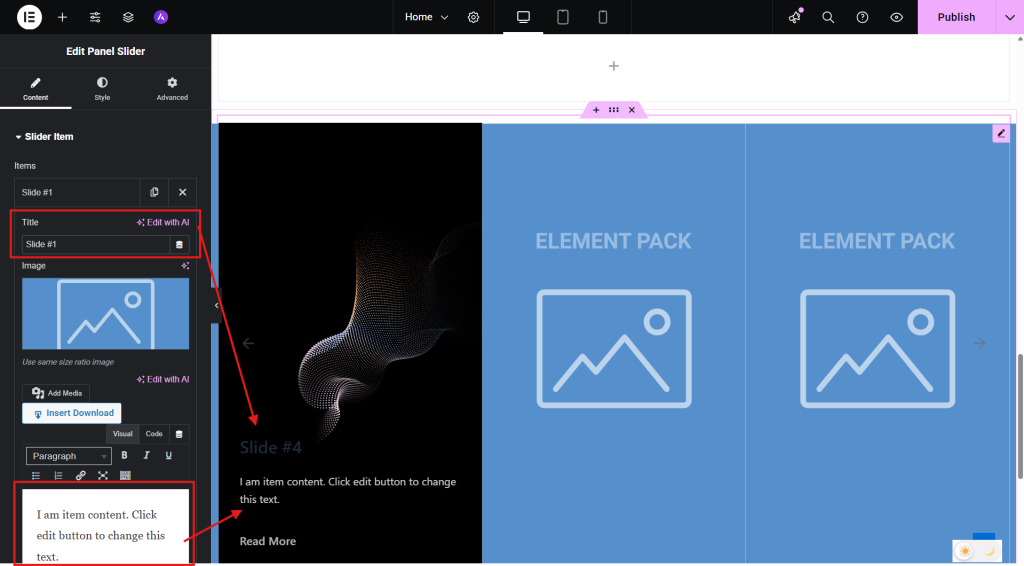
- You can style the text position (top, center, bottom) and apply hover effects.

Customize the Carousel Appearance
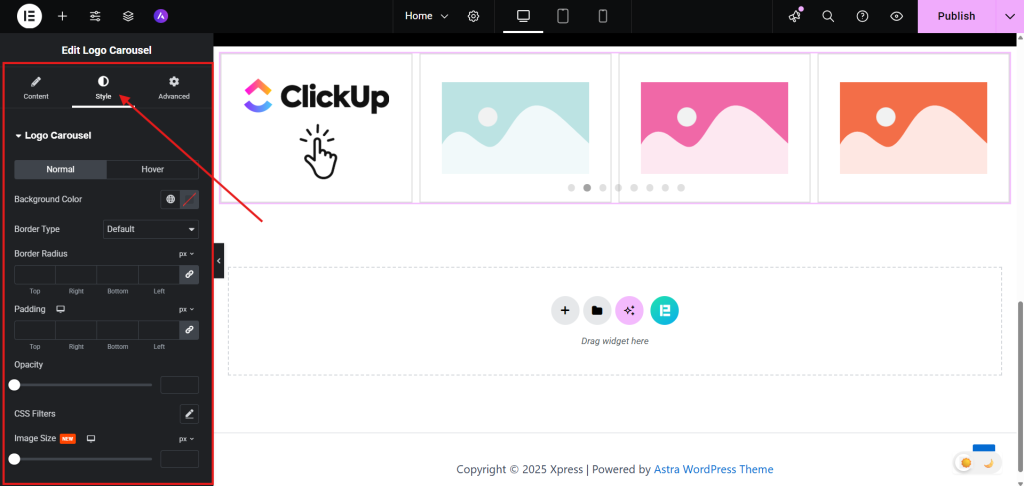
After setting up and confirming your image carousel is functioning properly, navigate to the Style tab to customize its appearance.
Style the Carousel Items
Once your image carousel is up and running, head to the Estilo tab to refine its visual presentation. You can:
- Personalice backgrounds, fronteras, acolchadoy espaciado between items
- Apply shadows y hover effects for interactive flair
- Adjust opacity for hover or active states to guide user focus
- Activar Shadow Mode to add depth and dimension to your layout
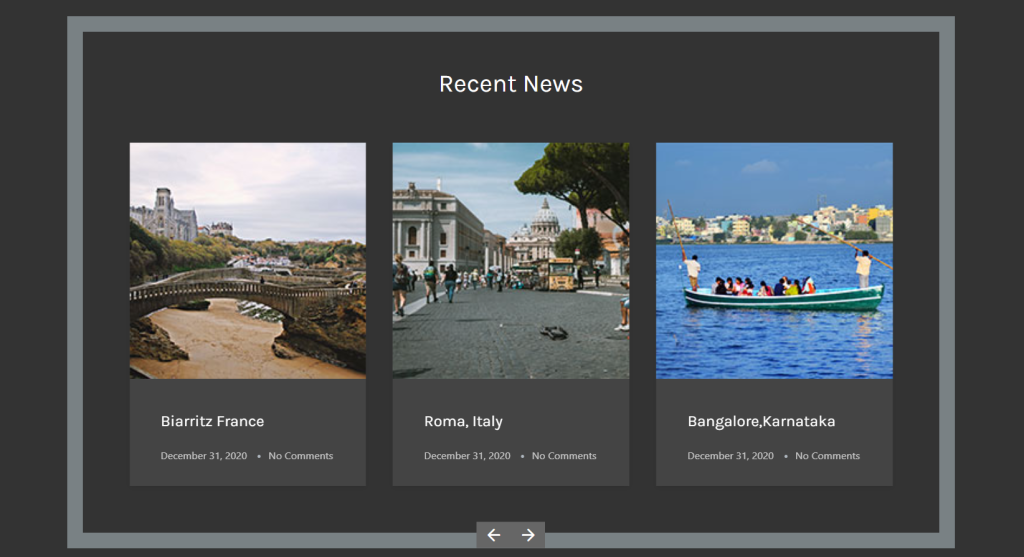
Navigation Styling
Similar to the Logo Slider, the available customization options will vary based on the navigation type you choose. In this section, you can:
- Personalize arrow color, fondo, acolchadoy size
- Enhance interactivity with hover effects like color transitions or shadows
- Fine-tune horizontal positioning using the arrow offset setting (applies to Arrow/Arrows and Dots)

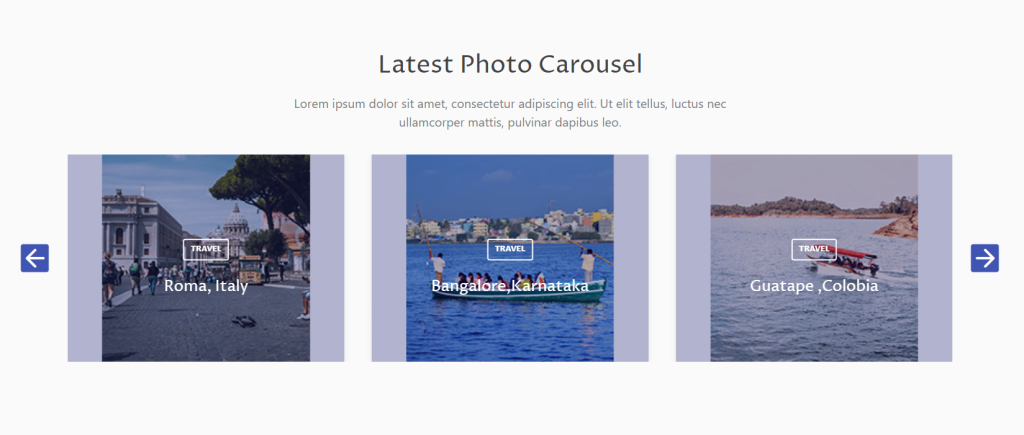
Bonus: Use Ready-made Carousel Designs with Element Pack
Why start from scratch when Element Pack offers a collection of professionally designed carrusel templates? These pre-built, bloques listos save you time and effort while delivering stunning results.
With just a few clicks, you can:
- Instantly apply stylish carousel presets tailored for logos, testimonials, portfolios, and more
- You can enjoy responsive designs that look great on all devices
- Customize each template to match your brand, adjust colors, typography, spacing, and effects
- Speed up your workflow with plug-and-play layouts that require minimal setup
Whether you’re building a sleek homepage slider or showcasing client feedback, these ready-made designs give you a head start without compromising flexibility.
Reflexiones finales
Finally, in this guide, I tried to show you how to create and customize an image carousel using Elementor. Whether you’re showcasing client logos, product highlights, or portfolio items, carousels provide a dynamic way to present visuals with clarity and flow.
I recommend starting with the basic widgets, then adjusting the layout, spacing, and navigation to suit your design. If you’re short on time, the pre-made templates from Element Pack can help you get results quickly.
Always preview your work across devices to make sure it looks right everywhere. Try different styles, test interactions, and keep your design simple but attractive. With a few thoughtful tweaks, your carousel can become an important part of your site’s visual storytelling.
FAQ:
Q1: What is an image carousel in Elementor
A: It’s a scrollable gallery that lets users view multiple images in a compact, interactive format.
Q2: How to add text in the image carousel in Elementor
A: Use a widget that supports captions or overlays; some add-ons allow titles, descriptions, and buttons per slide. Element Pack allows titles, descriptions, and buttons directly within each carousel slide, no coding needed.
Q3: How to use the image carousel in Elementor
A: After adding the widget, customize navigation, spacing, autoplay, and styling to match your design.
Q4: How to create an image carousel in Elementor
A: Drag the Image Carousel widget into your section, then configure the layout and style to your liking. You can choose Element Pack to create an image carousel in Elementor.
Q5: How do you add images to a carousel
A: Click “Choose Images” in the widget settings, select from your media library, and reorder as needed.
Q6: What is the difference between a slider and a carousel in Elementor
A: A slider shows one image at a time; a carousel displays multiple images side-by-side with horizontal scrolling.
Q7: How to insert an image carousel in WordPress
A: Use Elementor to edit your page or post, then add the Image Carousel widget where you want it to appear. You can use Element Pack’s Carousel widget for a sleek, customizable image slider, just drag, drop, and style.