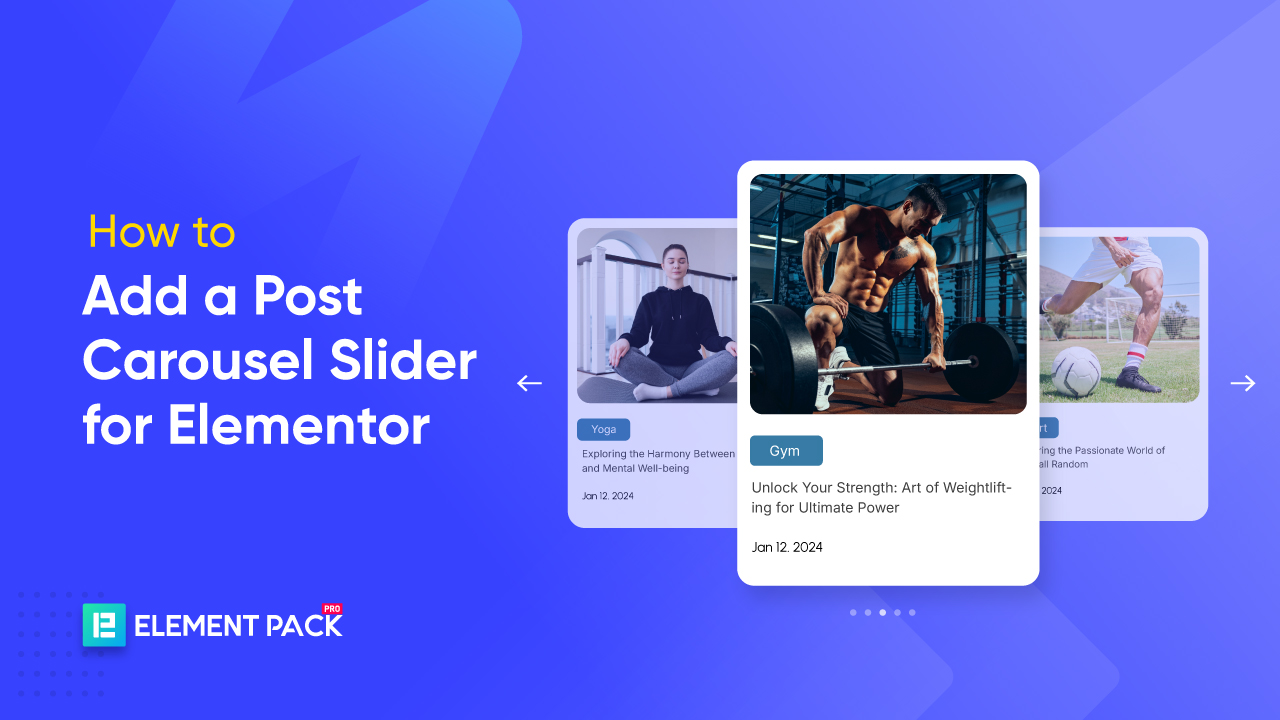
The Post Carousel in Elementor is a widget that presents WordPress posts in a sliding format, featuring images, titles, excerpts, and navigation tools.
It’s ideal for showcasing blog entries, pages, or custom content, offering a visually engaging way to group posts by category and guide users through your content.
While creating a Post Carousel in Elementor, I ran into limitations with the free version of Elementor. Aslo, Elementor doesn’t offer post carousels for free.
To add a post carousel slider to your Elementor page, you’ll need to use a third-party plugin that provides a carousel widget.
In this tutorial, I will guide you through the steps to add a post carousel slider using Elementor.
Without further ado, let’s begin!
Hinzufügen eines Post-Karussell-Schiebers für Elementor
The first step in adding a post carousel slider to Elementor is choosing the right plugin. There are several options available, each offering unique features for effectively displaying posts.
Here, I’ve put together a comparison table of some of the most popular Elementor native carousel widget plugins, considering factors like customization options, responsiveness, and compatibility with your website setup.
| Merkmal | Elementor Pro | Wesentliche Addons | Element Pack |
| Multiple Carousel Types (Image, Post, etc.) | Basic only | Moderate options | Extensive range |
| Advanced Styling & Layout Controls | Begrenzt | Good customization | Full control |
| Dynamic Content in Carousels (ACF, CPT, WooCommerce, etc.) | Nein | Nein | Ja |
| Carousel for Team Members, Portfolio, Testimonials, News, etc. | Few | Some | Full collection |
| Interactive Controls (Hover effects, Animations, Mouse drag) | Grundlegend | Some effects | Advanced effects |
| Content Source Flexibility (Posts, Terms, Products, etc.) | Only Posts | Begrenzt | Dynamic support |
Based on my experience, the Post Slider widget from Element Pack stands out as the best option for creating a post carousel slider in Elementor.
I’ve tested multiple plugins, but this one offers the most efficient setup, smooth navigation, and reliable performance. The level of customization it provides surpasses other solutions, allowing precise control over layout, animation, and styling without unnecessary complexity.
Here I have shown you 3 simple steps that will help you add a user-friendly and advanced post carousel slider. The steps are:
Step 1. Add post carousel slider widget to your page
First of all, open the page where you want to add the carousel in Elementor’s editor.
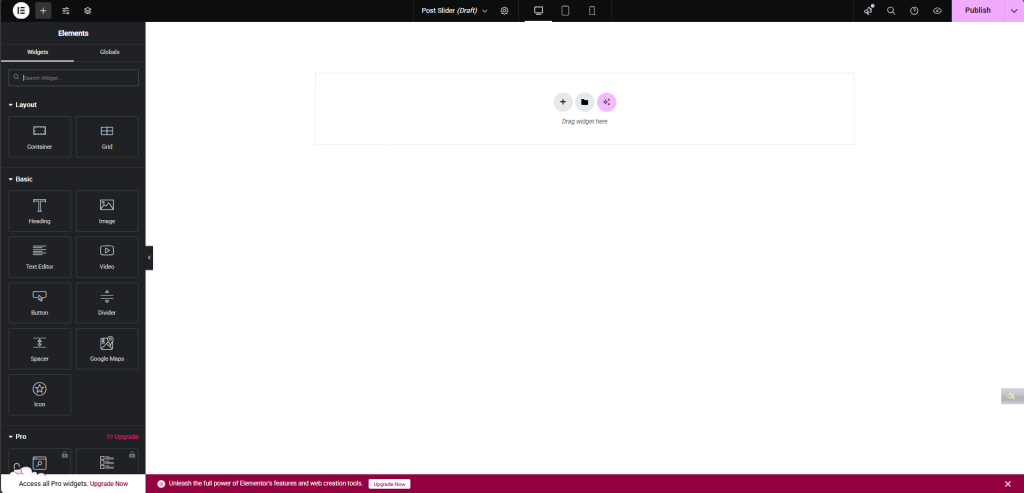
Find the “Post Slider” or “Post Carousel Slider” widget in the Elementor widgets panel.

Drag and drop the widget onto your page.
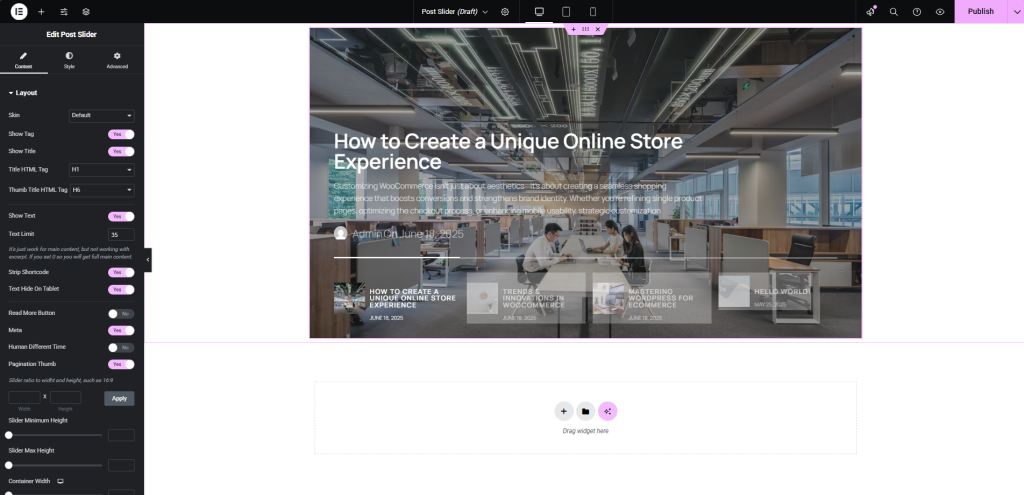
2. Configure the Widget
Now we will make the widget functional and customizable.
Content Settings:
Source: Choose where the posts will be retrieved (e.g., posts, pages, products). Here, I have shown the blogs, so I have selected the “Post” option.

Include: Filter posts by author, categories, tags, etc.
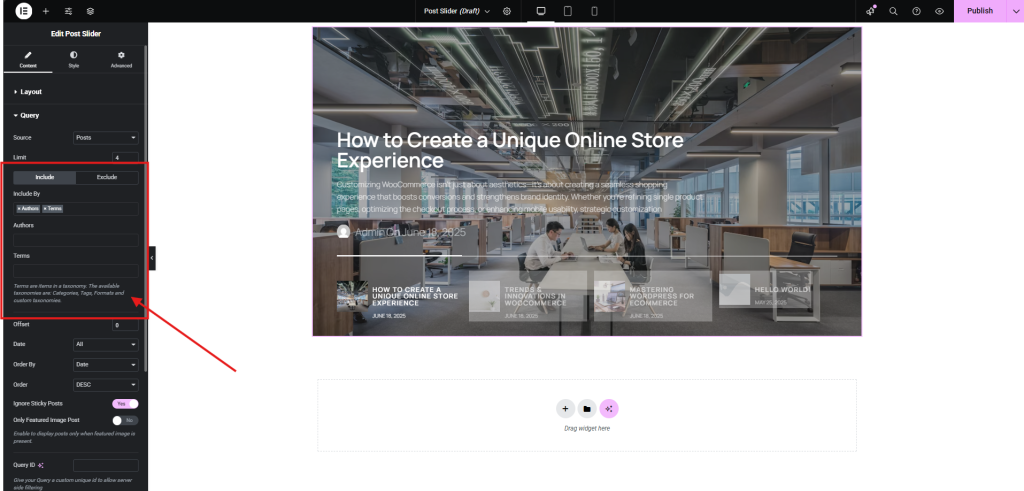
Layout: Customize the number of posts per page, order, and other layout options.
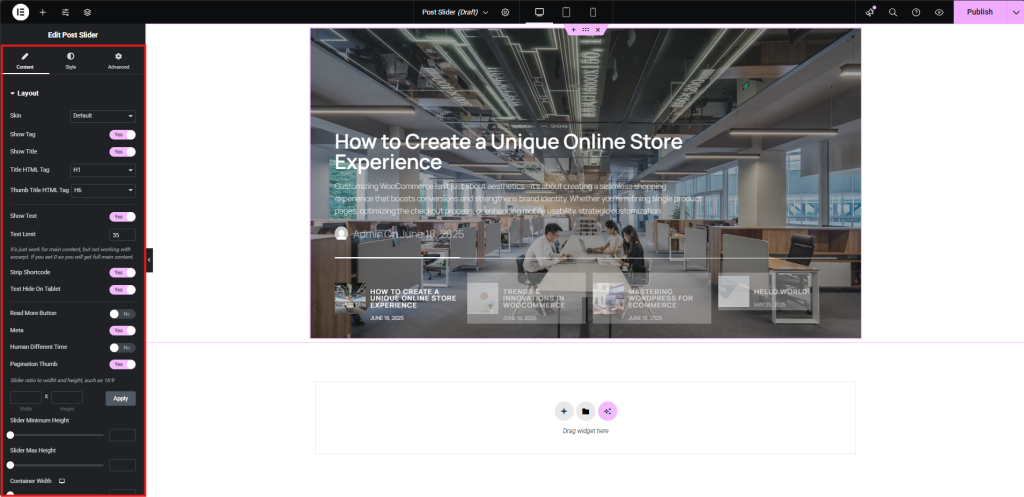
Here, you can customize animation, notation, sound effects, wrapper link, and pagination function
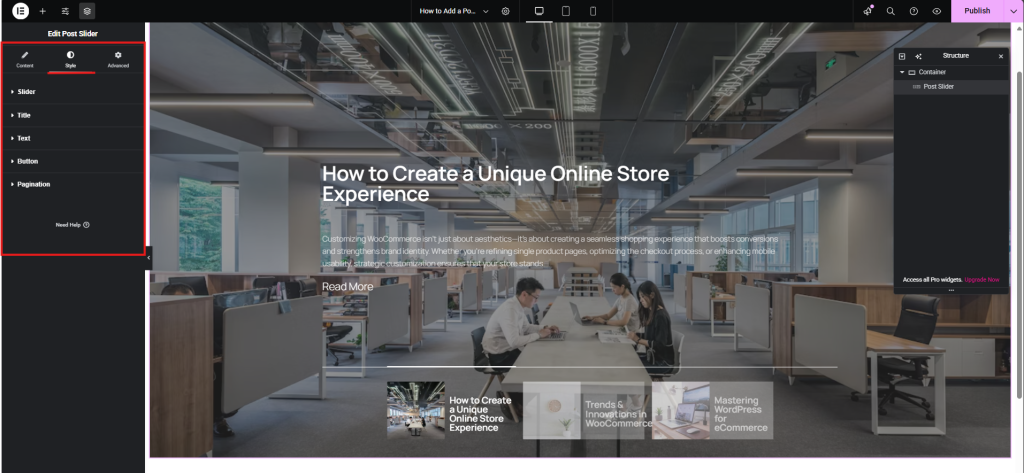
Style Settings:
- Titel: Set font size, typography, and color to match branding.
- Text: Adjust spacing, line height, and contrast for readability.
- Button: Customize color, hover effects, and padding for better engagement.
- Pagination: Choose between dots, numbers, or arrows, and align styling with your layout.
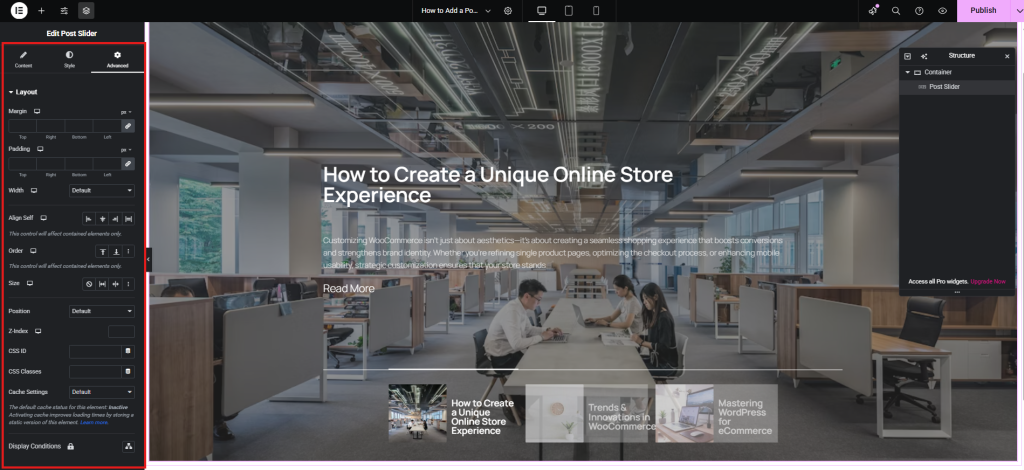
Advanced Settings:
Add margin, padding, custom CSS, or adjust other advanced options.
3. Customize and Publish
Experiment with different settings to achieve the desired look and behavior of your post carousel. Here are some designs I’ve created.

another one is:

Once you are satisfied with the design, publish or update your page.
Quick Tips for a Solid Post-Carousel Slider Setup
After working hands-on with the Post Slider widget in Element Pack, I’ve picked up a few practical habits that help make a carousel not just usable—but enjoyable to scroll through:
- Dial in the Layout Your layout makes or breaks readability. Play around with how many columns you’re using, the spacing between them, and padding around the edges until it feels clean and not overcrowded.
Example: For desktop, a 3-column setup with 20px gaps between slides often hits a sweet spot—neat, balanced, and easy to browse.
- Use the Right Images High-quality visuals draw users in, but oversized files can slow things down. The goal is sharp, lightweight images that load fast.
Example: Save your post thumbnails at 800×500 pixels and run them through TinyPNG to reduce file size without noticeable quality loss.
- Control What Shows Up You don’t want just any post sliding through. Use the query controls to show only the posts that matter—by category, tag, or even a manual selection.
Example: Want to highlight tutorials? Set the query to display only posts tagged “Featured” from your “Tutorials” category. - Make Navigation Easy, Not Distracting Arrows and dots are great, but they shouldn’t steal attention from the posts themselves. Keep them minimal and test how the transitions feel.
Example: Add arrows that appear on hover and use a soft fade effect with a 600ms speed—it’s gentle and doesn’t feel jumpy. - Check the Mobile Layout What works on a laptop might not hold up on a phone. You’ll want to make sure your slider responds well to all screen sizes.
Example: Set mobile breakpoints around 767px, switch to a single-column layout, and reduce margins to keep the look compact and readable. - Set an Easy Pace for Auto-Scroll Auto-play helps grab attention, but it shouldn’t rush people through the content. Find a comfortable pace that gives users time to read.
Example: Try 4000ms for each slide, and turn on pause-on-hover so visitors can stop and interact when something catches their eye. - Run a Quick Pre-Launch Check Before going live, make sure the slider actually works well—test how fast it loads, how accessible it is, and whether users find it intuitive.
Example: Use Lighthouse in Chrome DevTools to measure performance, and preview with a screen reader to check for accessibility gaps.
How do I add a post slider in Elementor?
To add a post slider in Elementor, install a plugin like Element Pack that provides a post slider widget. After activation, drag and drop the post slider widget onto your Elementor page, adjust the settings, and customize the design to fit your site.
How do I add a carousel in Elementor?
Use a carousel widget from an Elementor plugin such as Post Carousel Slider for Elementor. Once installed, place the carousel widget on your Elementor page, configure the content source, adjust layout options, and apply animations for a smooth scrolling effect.
How do I add a custom slider in Elementor?
For a fully customized slider, use the Elementor Pro Slides Widget. These tools allow advanced customization, including dynamic content, animations, and tailored design elements. You can also use Ultimate Store Kit for extra WooCommerce-specific slider features.
What is the difference between a slider and a carousel in Elementor?
A slider typically displays one slide at a time, allowing users to scroll through individual items sequentially. A carousel, on the other hand, showcases multiple items within the same view, often allowing smooth, continuous scrolling. Carousels work well for post grids and product galleries, while sliders are ideal for full-width hero sections and promotions.
Schlussfolgerung
In this blog, I’ve walked you through the complete process of adding a post carousel slider in Elementor from selecting the ideal plugin to customizing and publishing it seamlessly.
With the right tools and techniques, you can craft a polished, responsive post slider that not only enhances your site’s visual appeal but also supports your broader store goals.
We hope this guide has provided valuable insights and practical steps to build a post slider carousel in Elementor.
Bitte zögern Sie nicht, Ihre Fragen oder Kommentare in dem dafür vorgesehenen Feld unten zu hinterlassen. Wir wünschen Ihnen alles Gute!
Wenn Ihnen dieser Artikel gefallen hat, vergessen Sie nicht, unseren Newsletter zu abonnieren, um weitere interessante Artikel, Aktualisierungen und Sonderangebote direkt in Ihren Posteingang zu erhalten. Folgen Sie uns außerdem auf Facebook, Xund YouTube um sich auf dem Laufenden zu halten.